Kitchen Remodel in Progress - Tile Floor Taking Shape
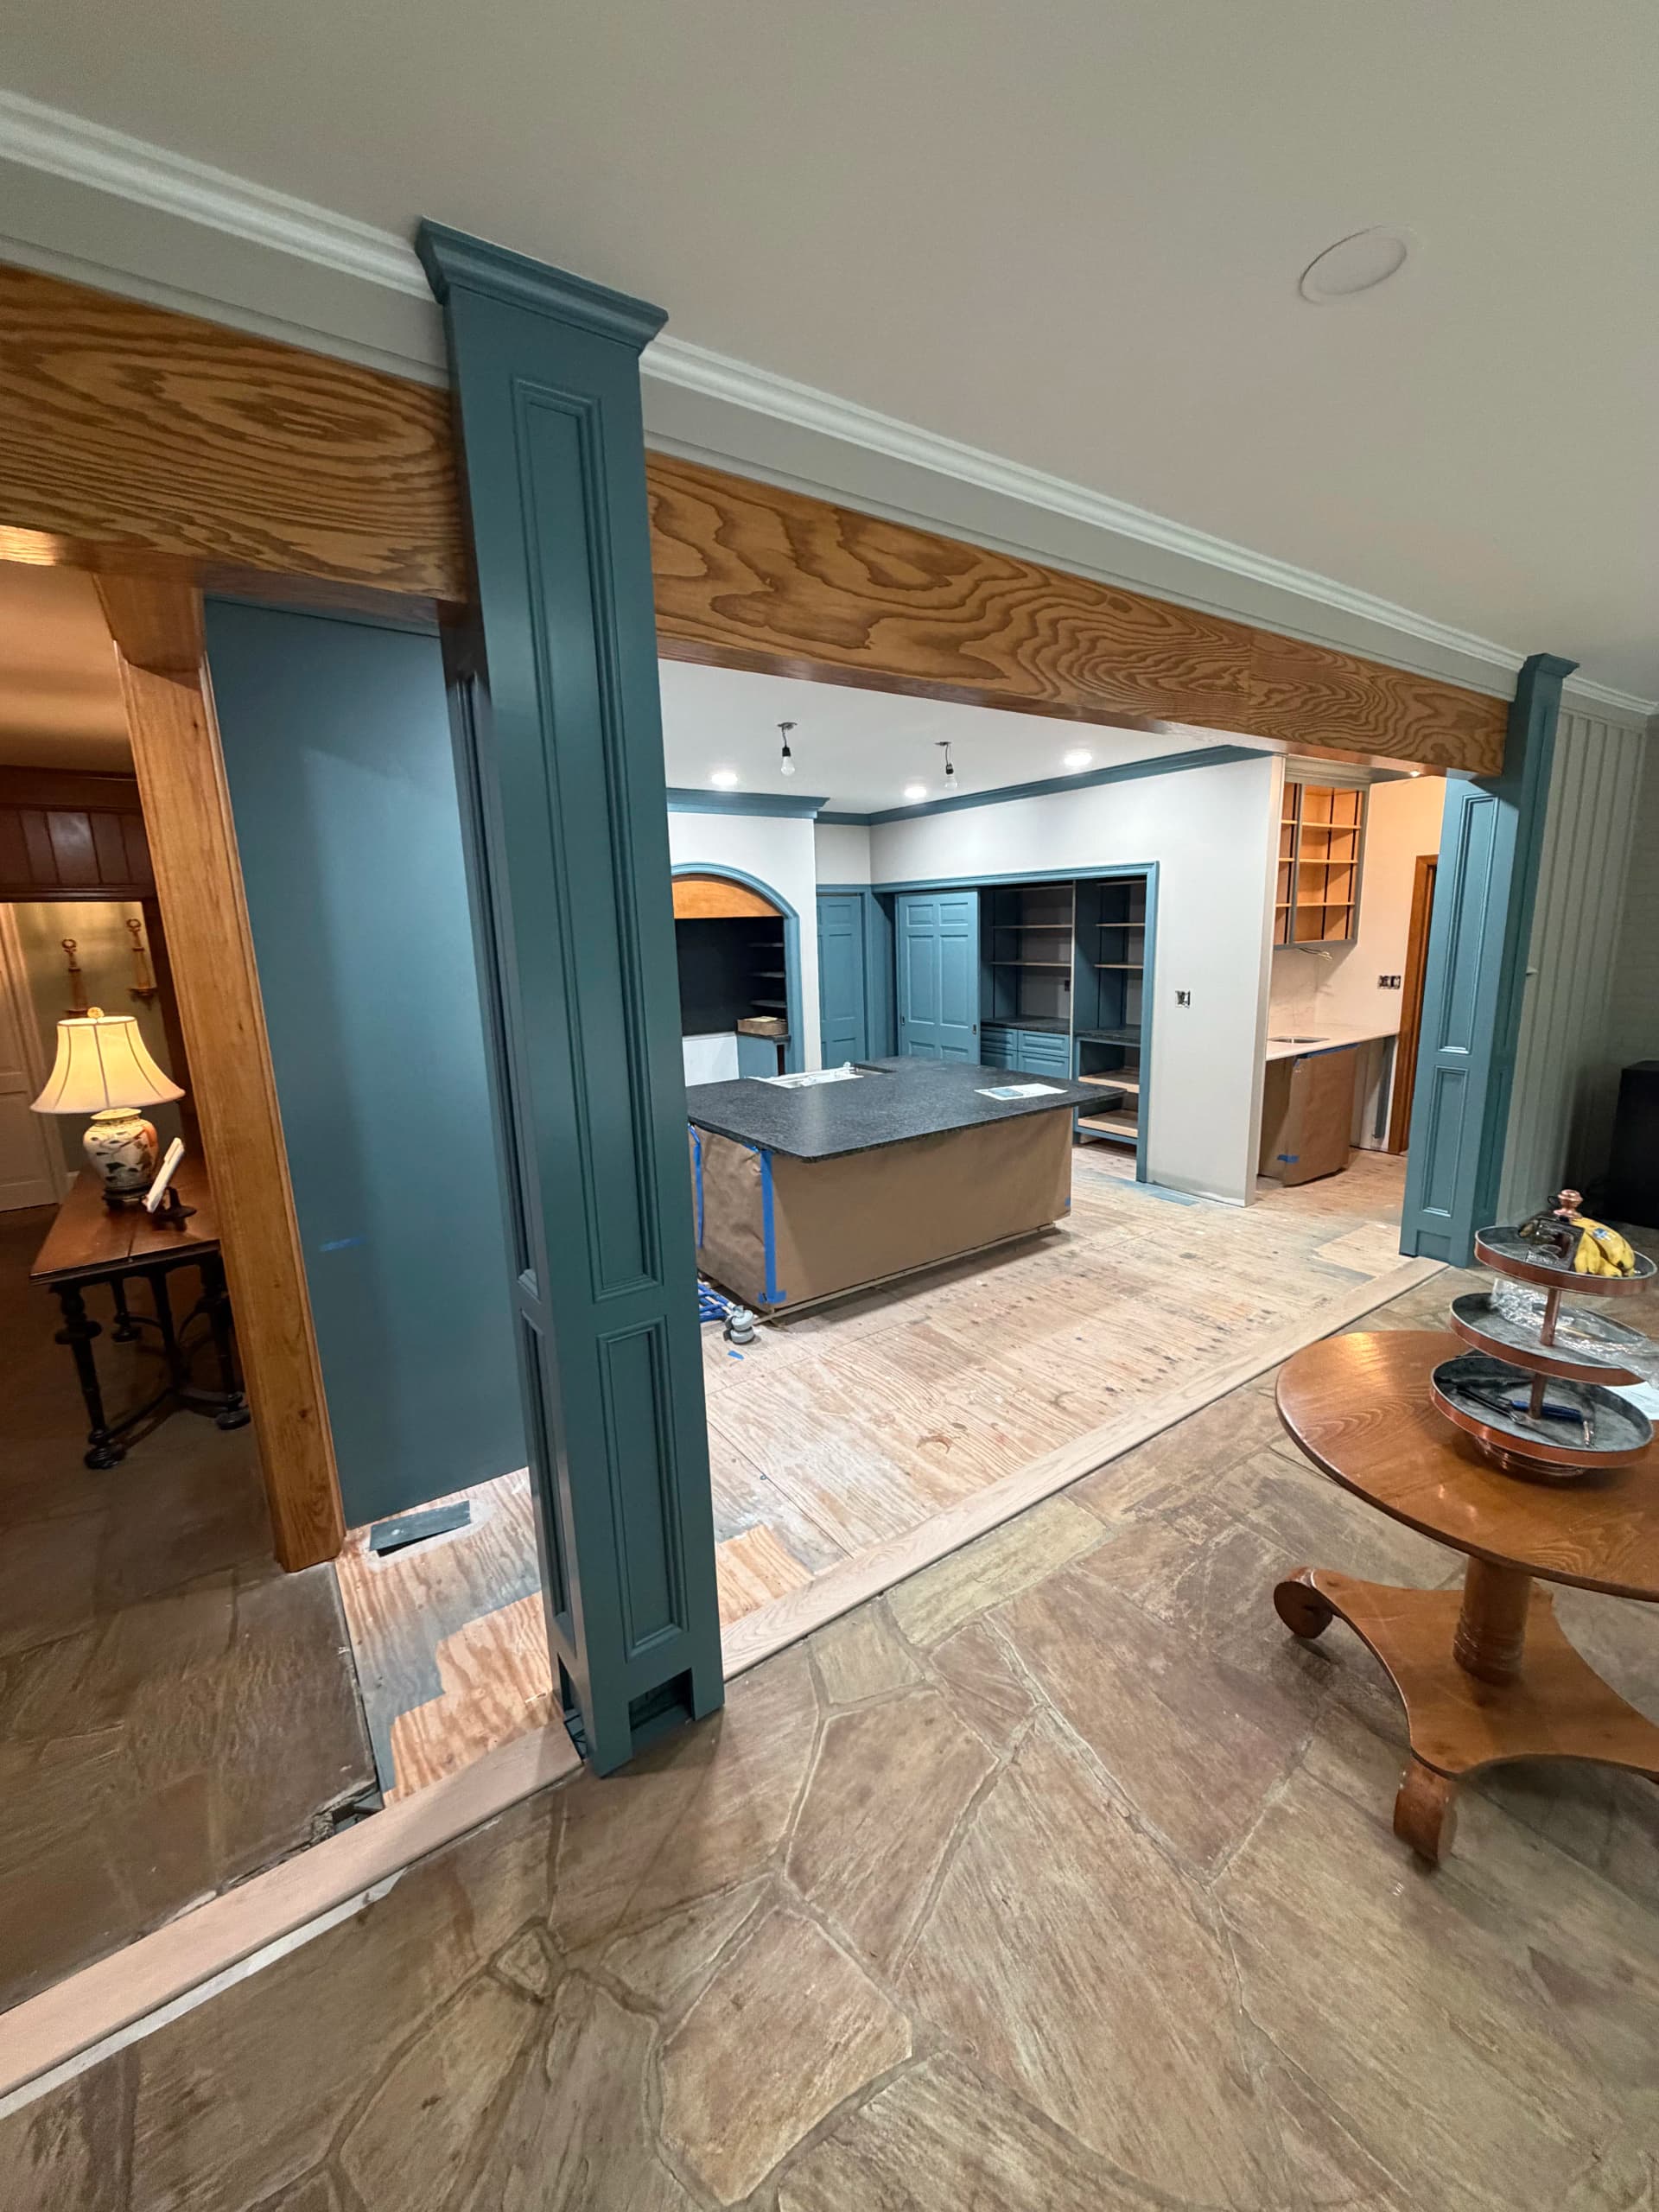
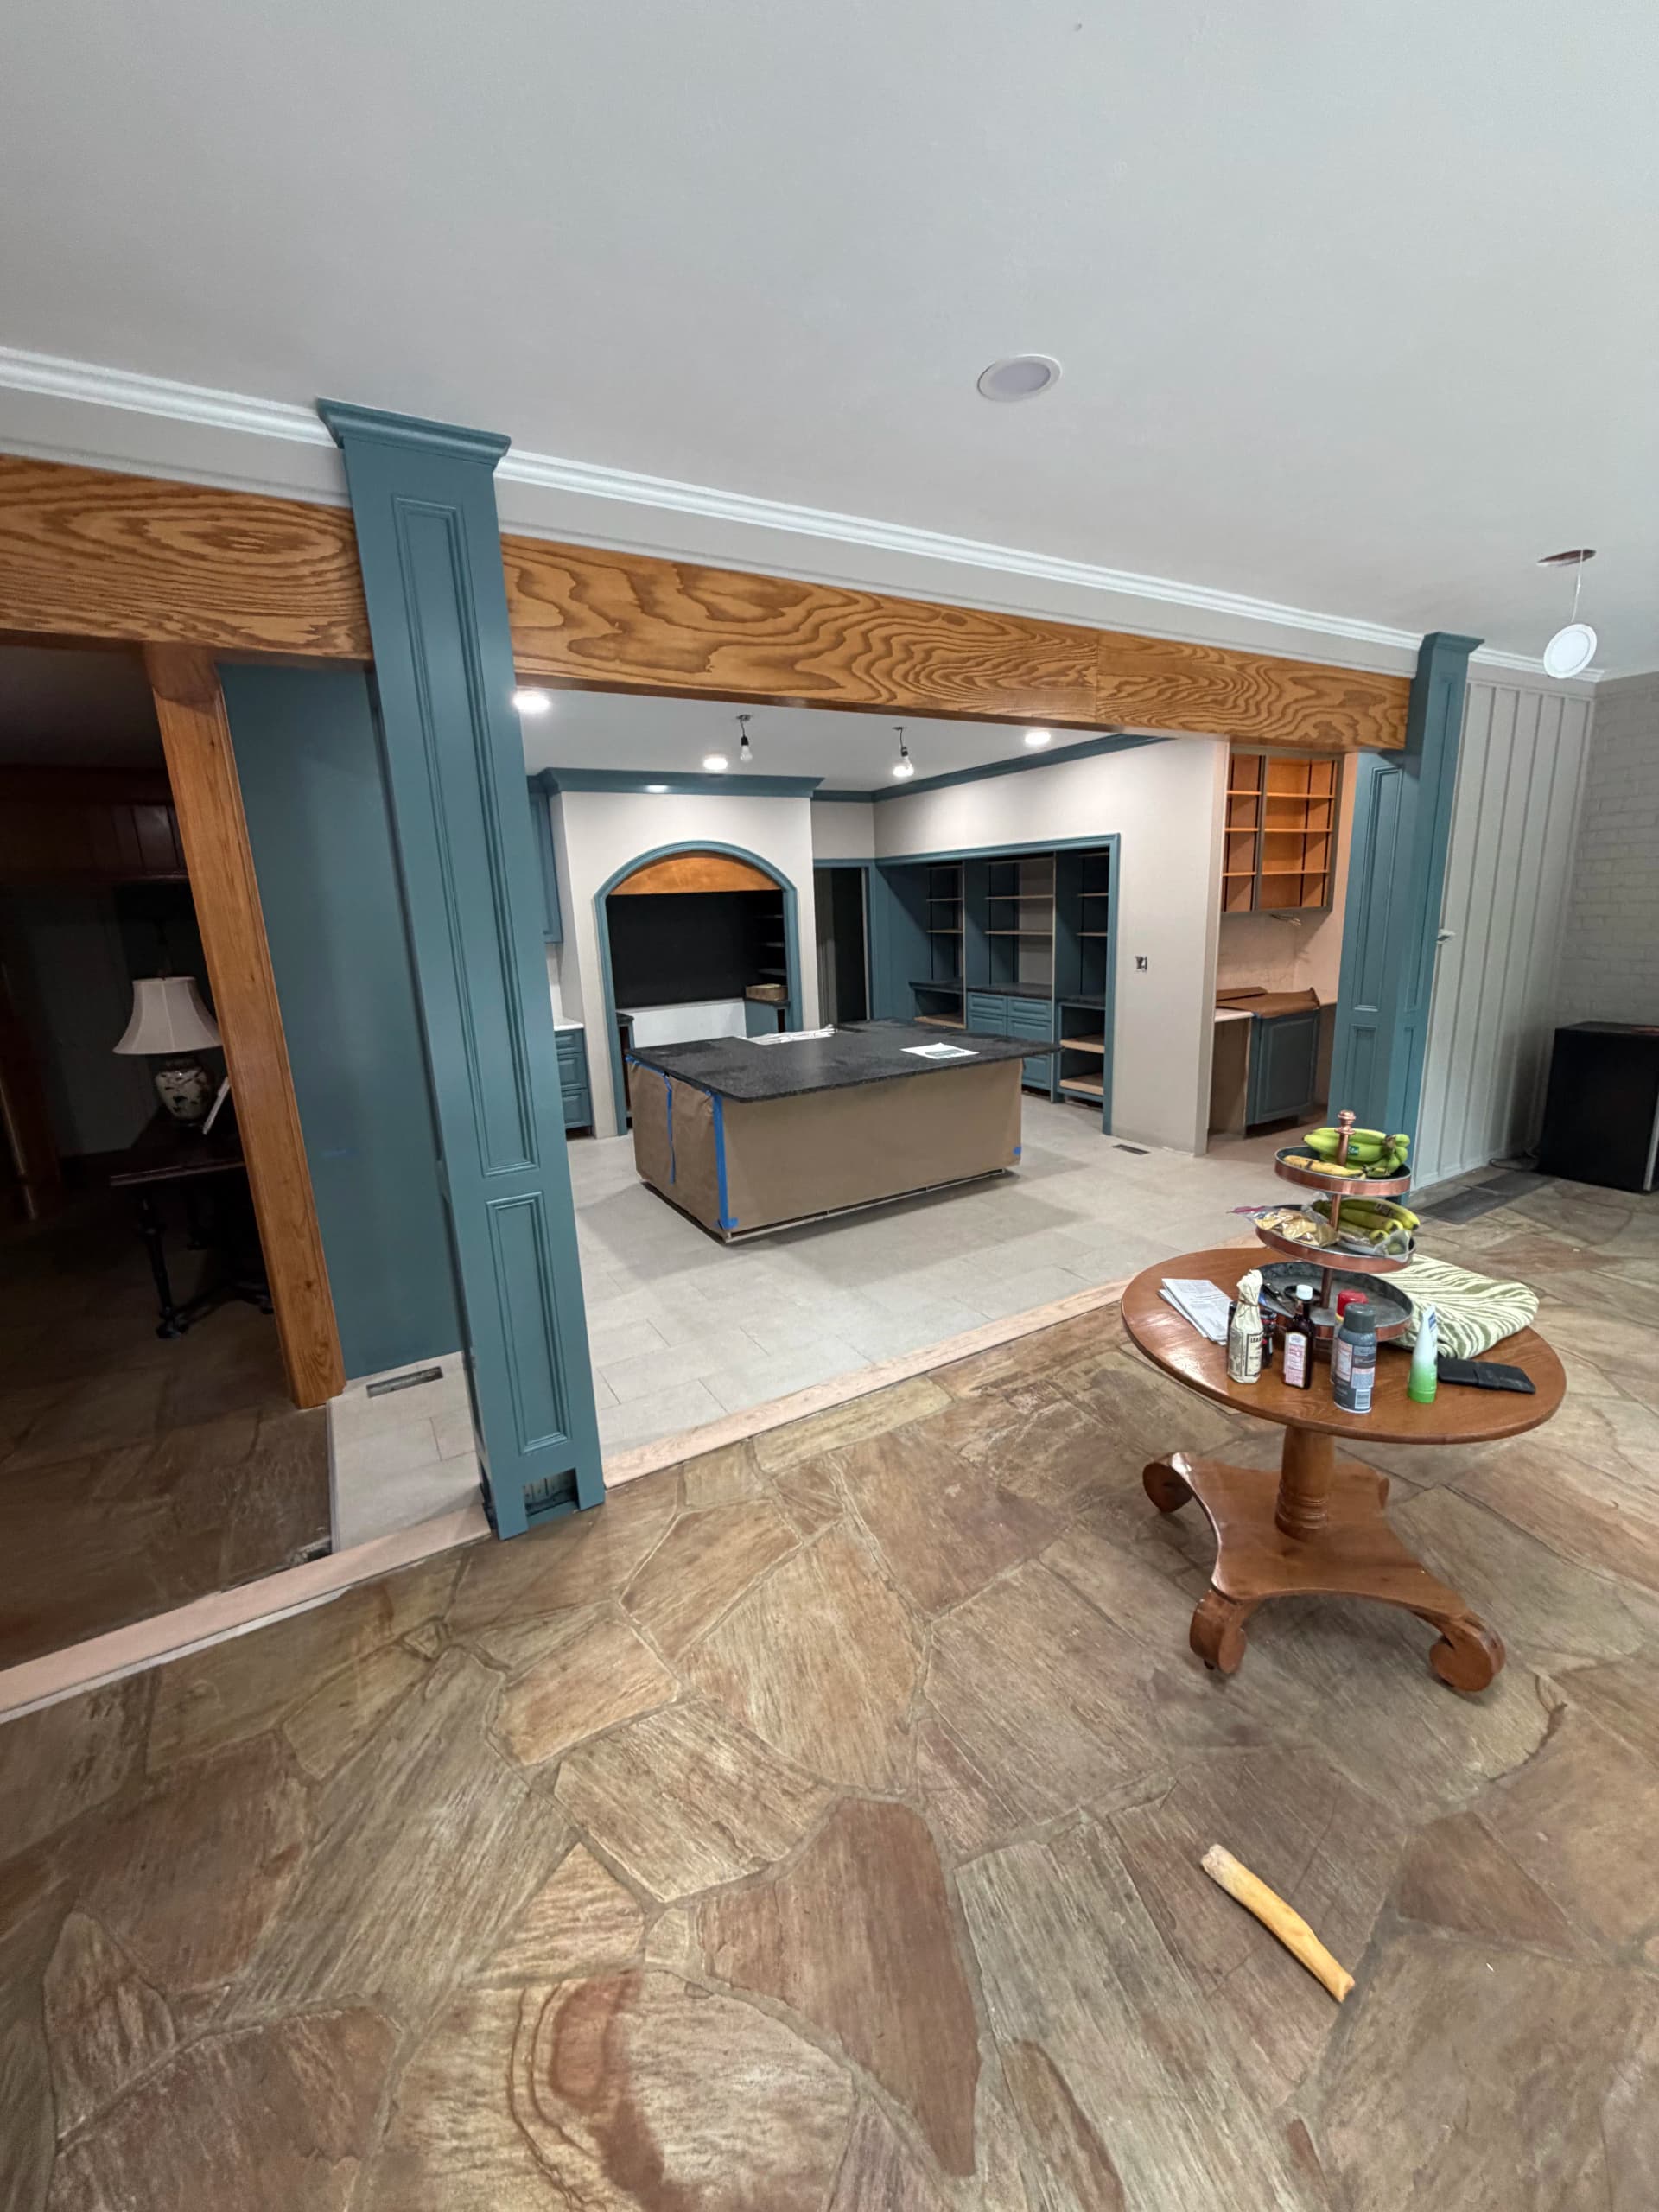
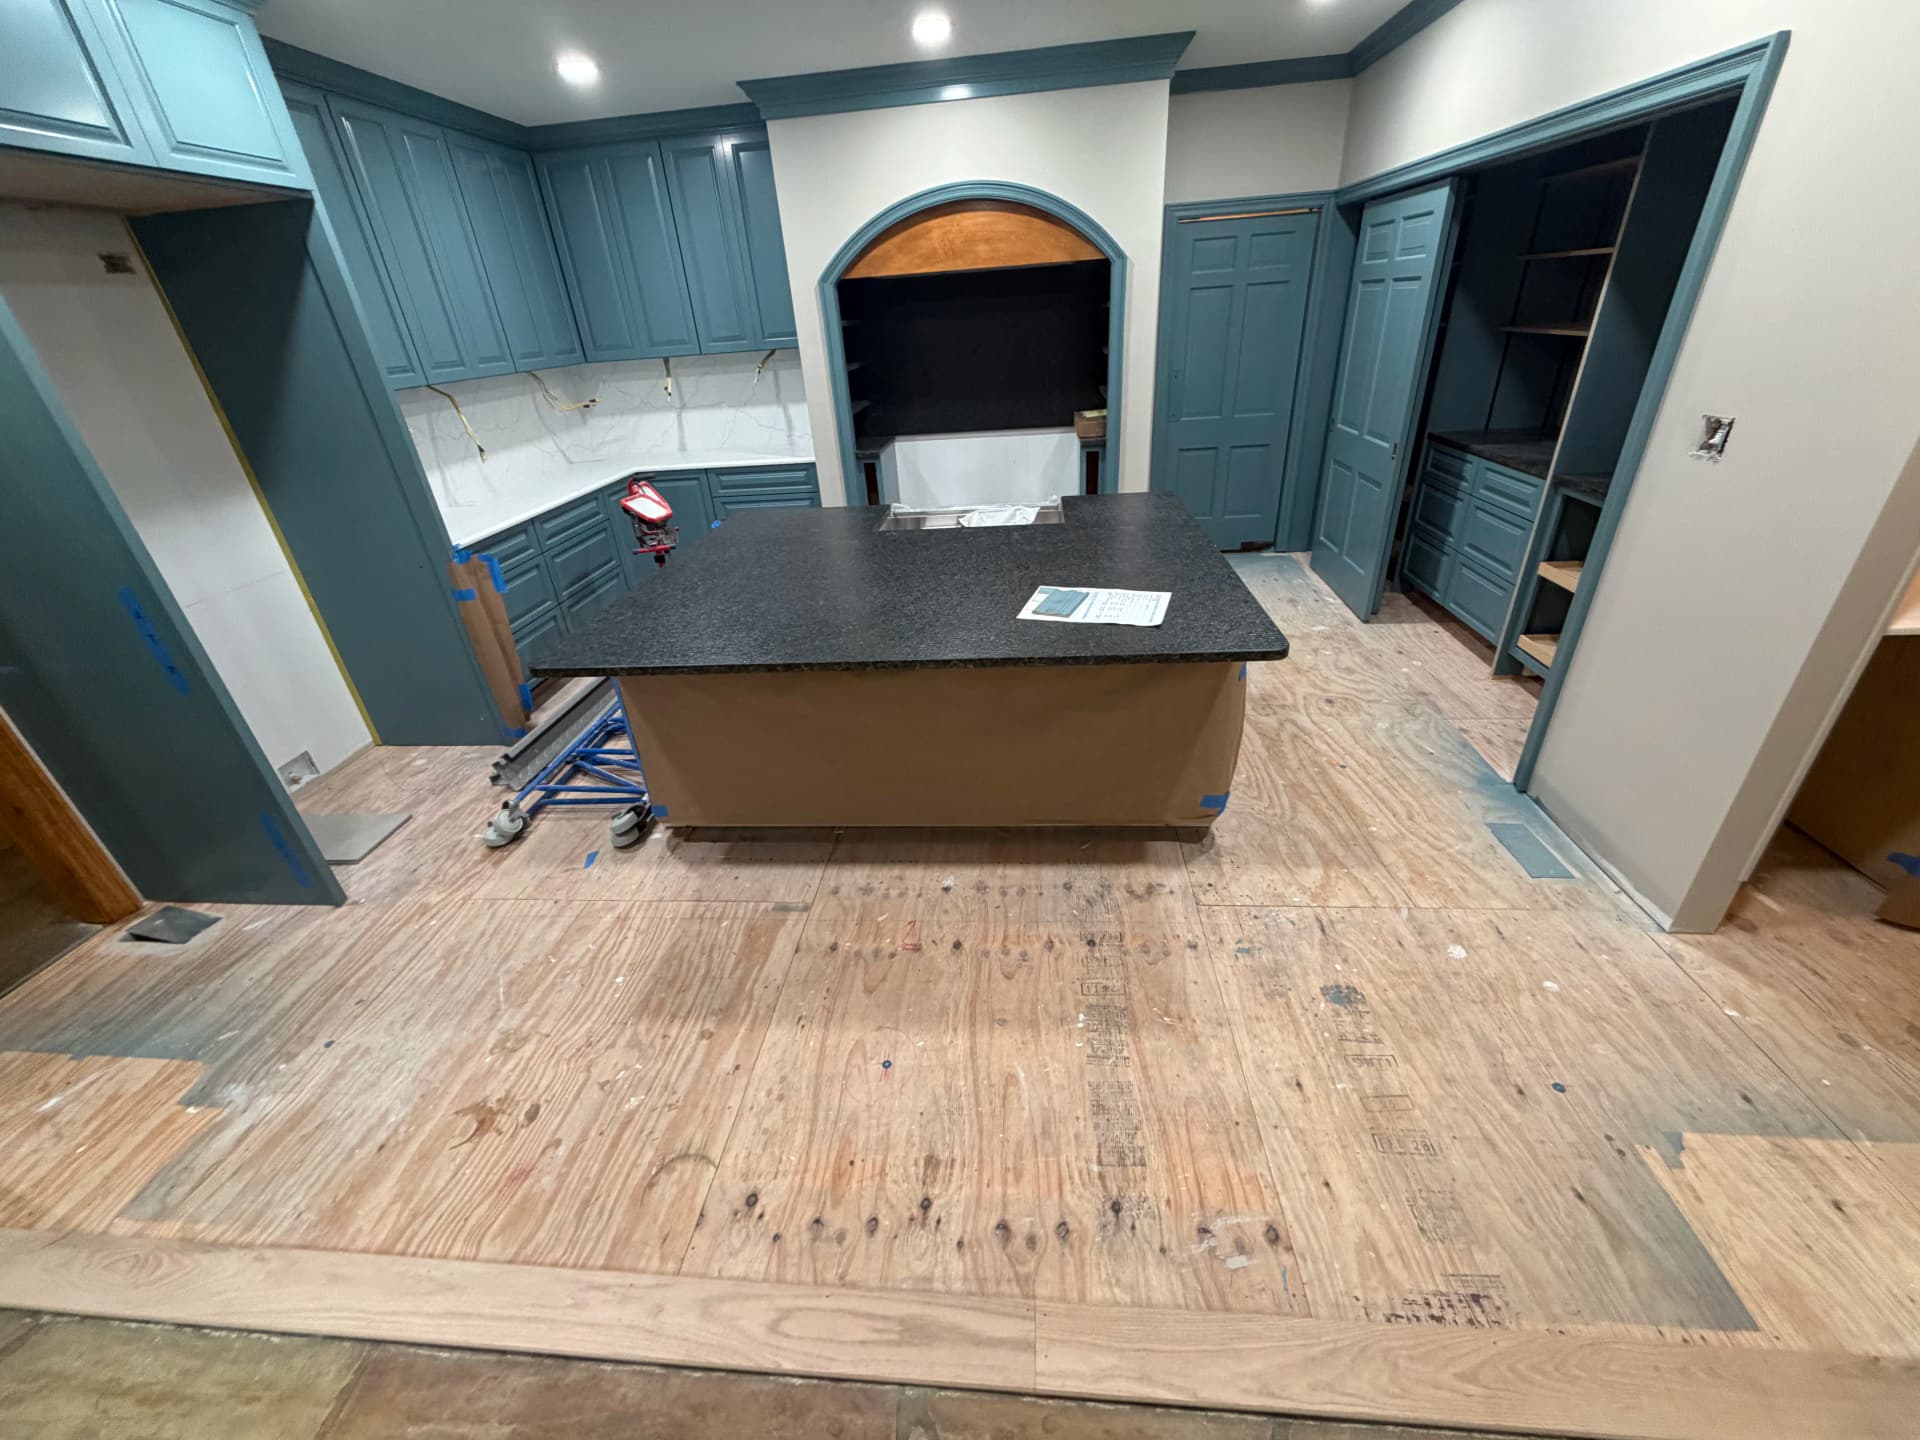
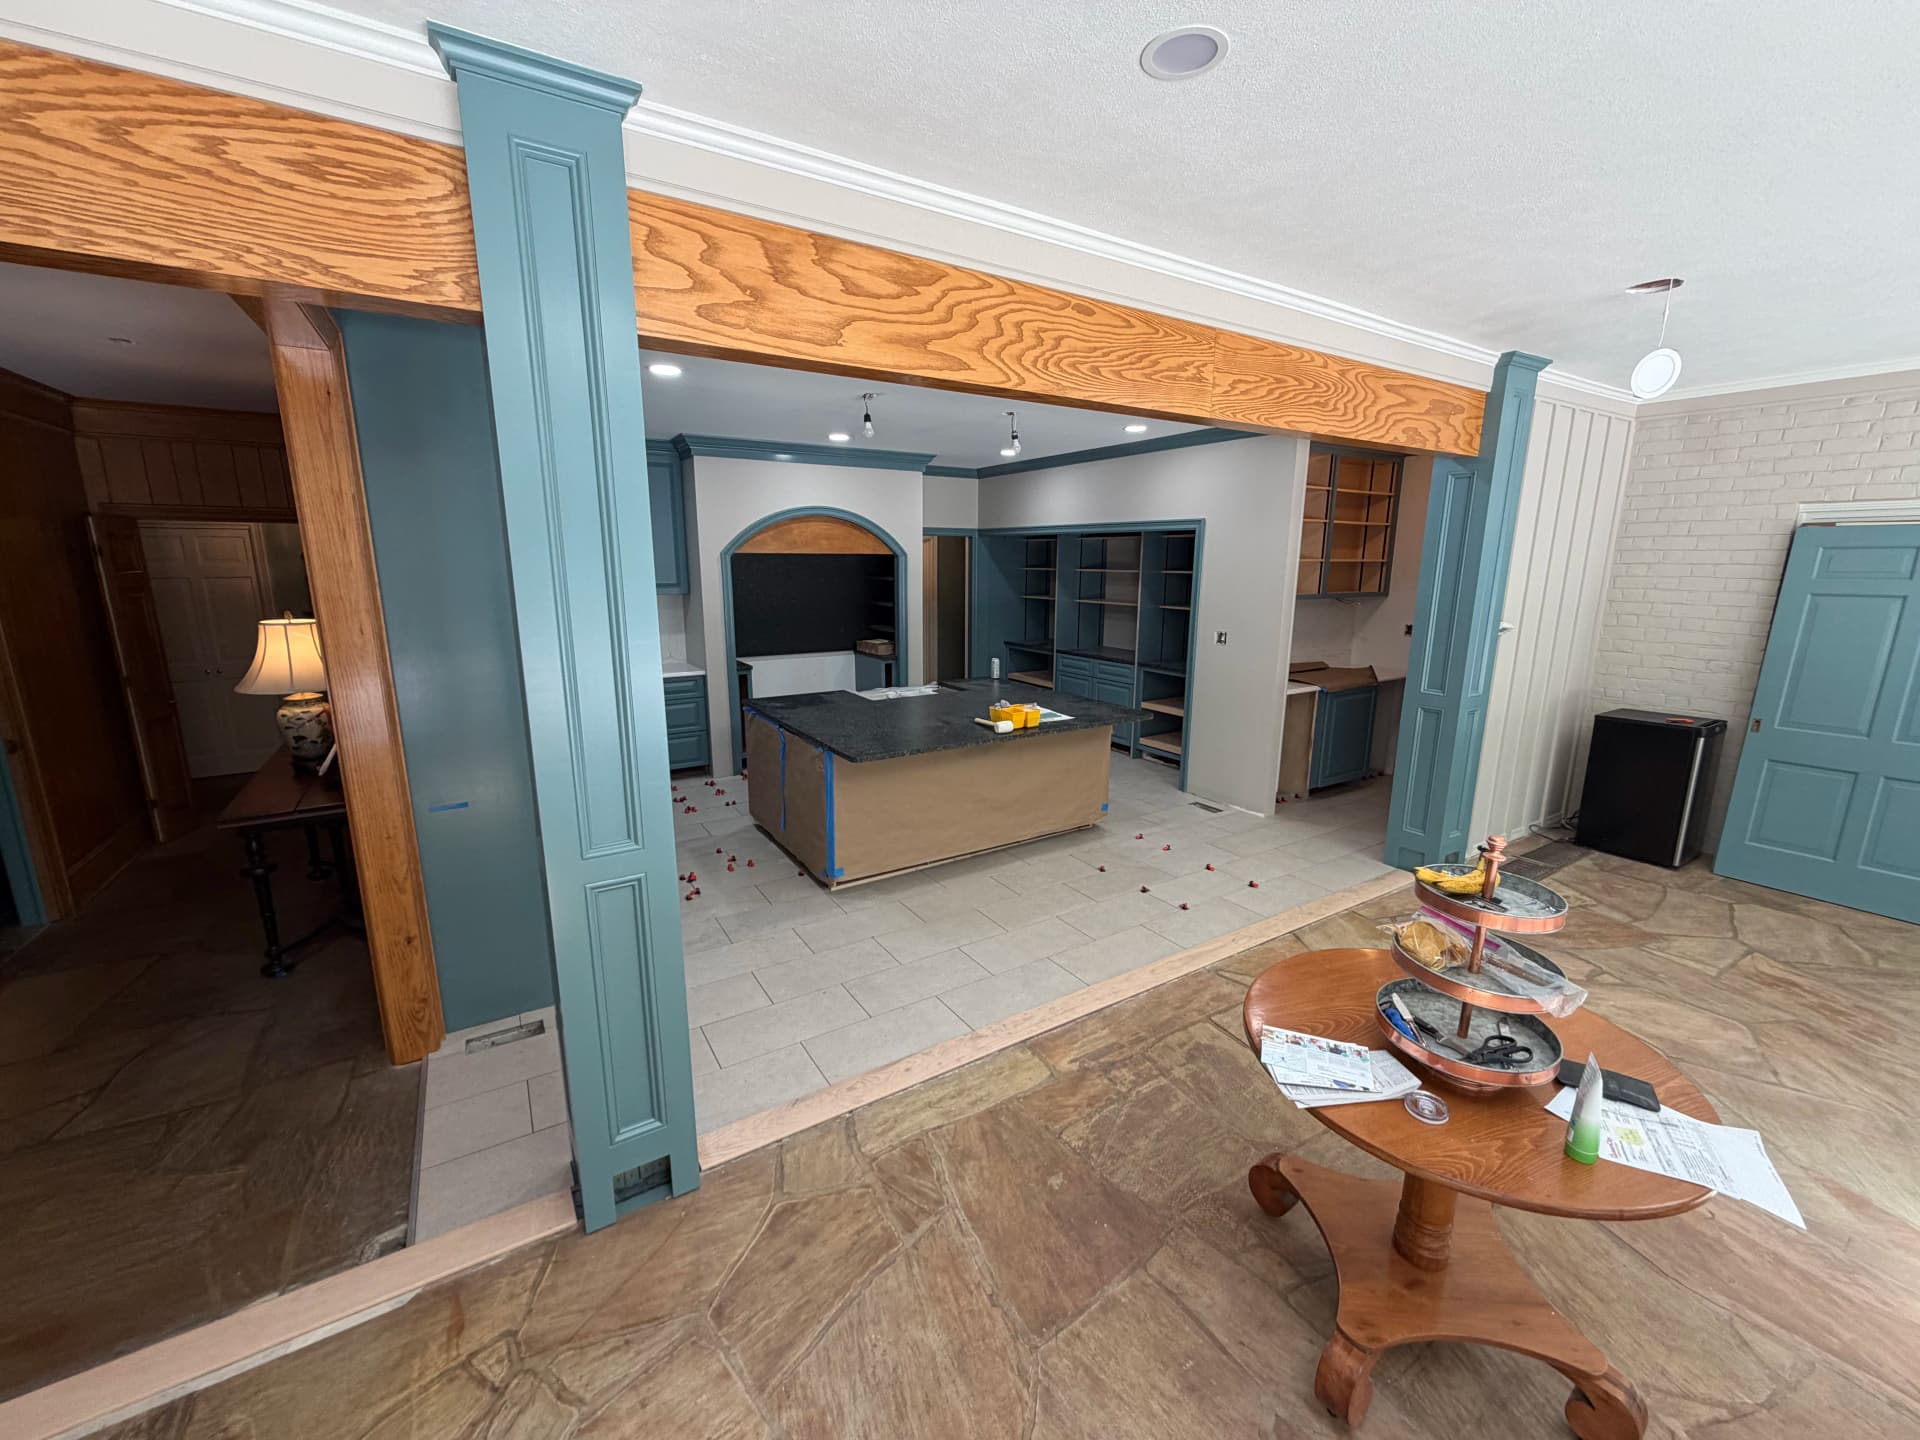
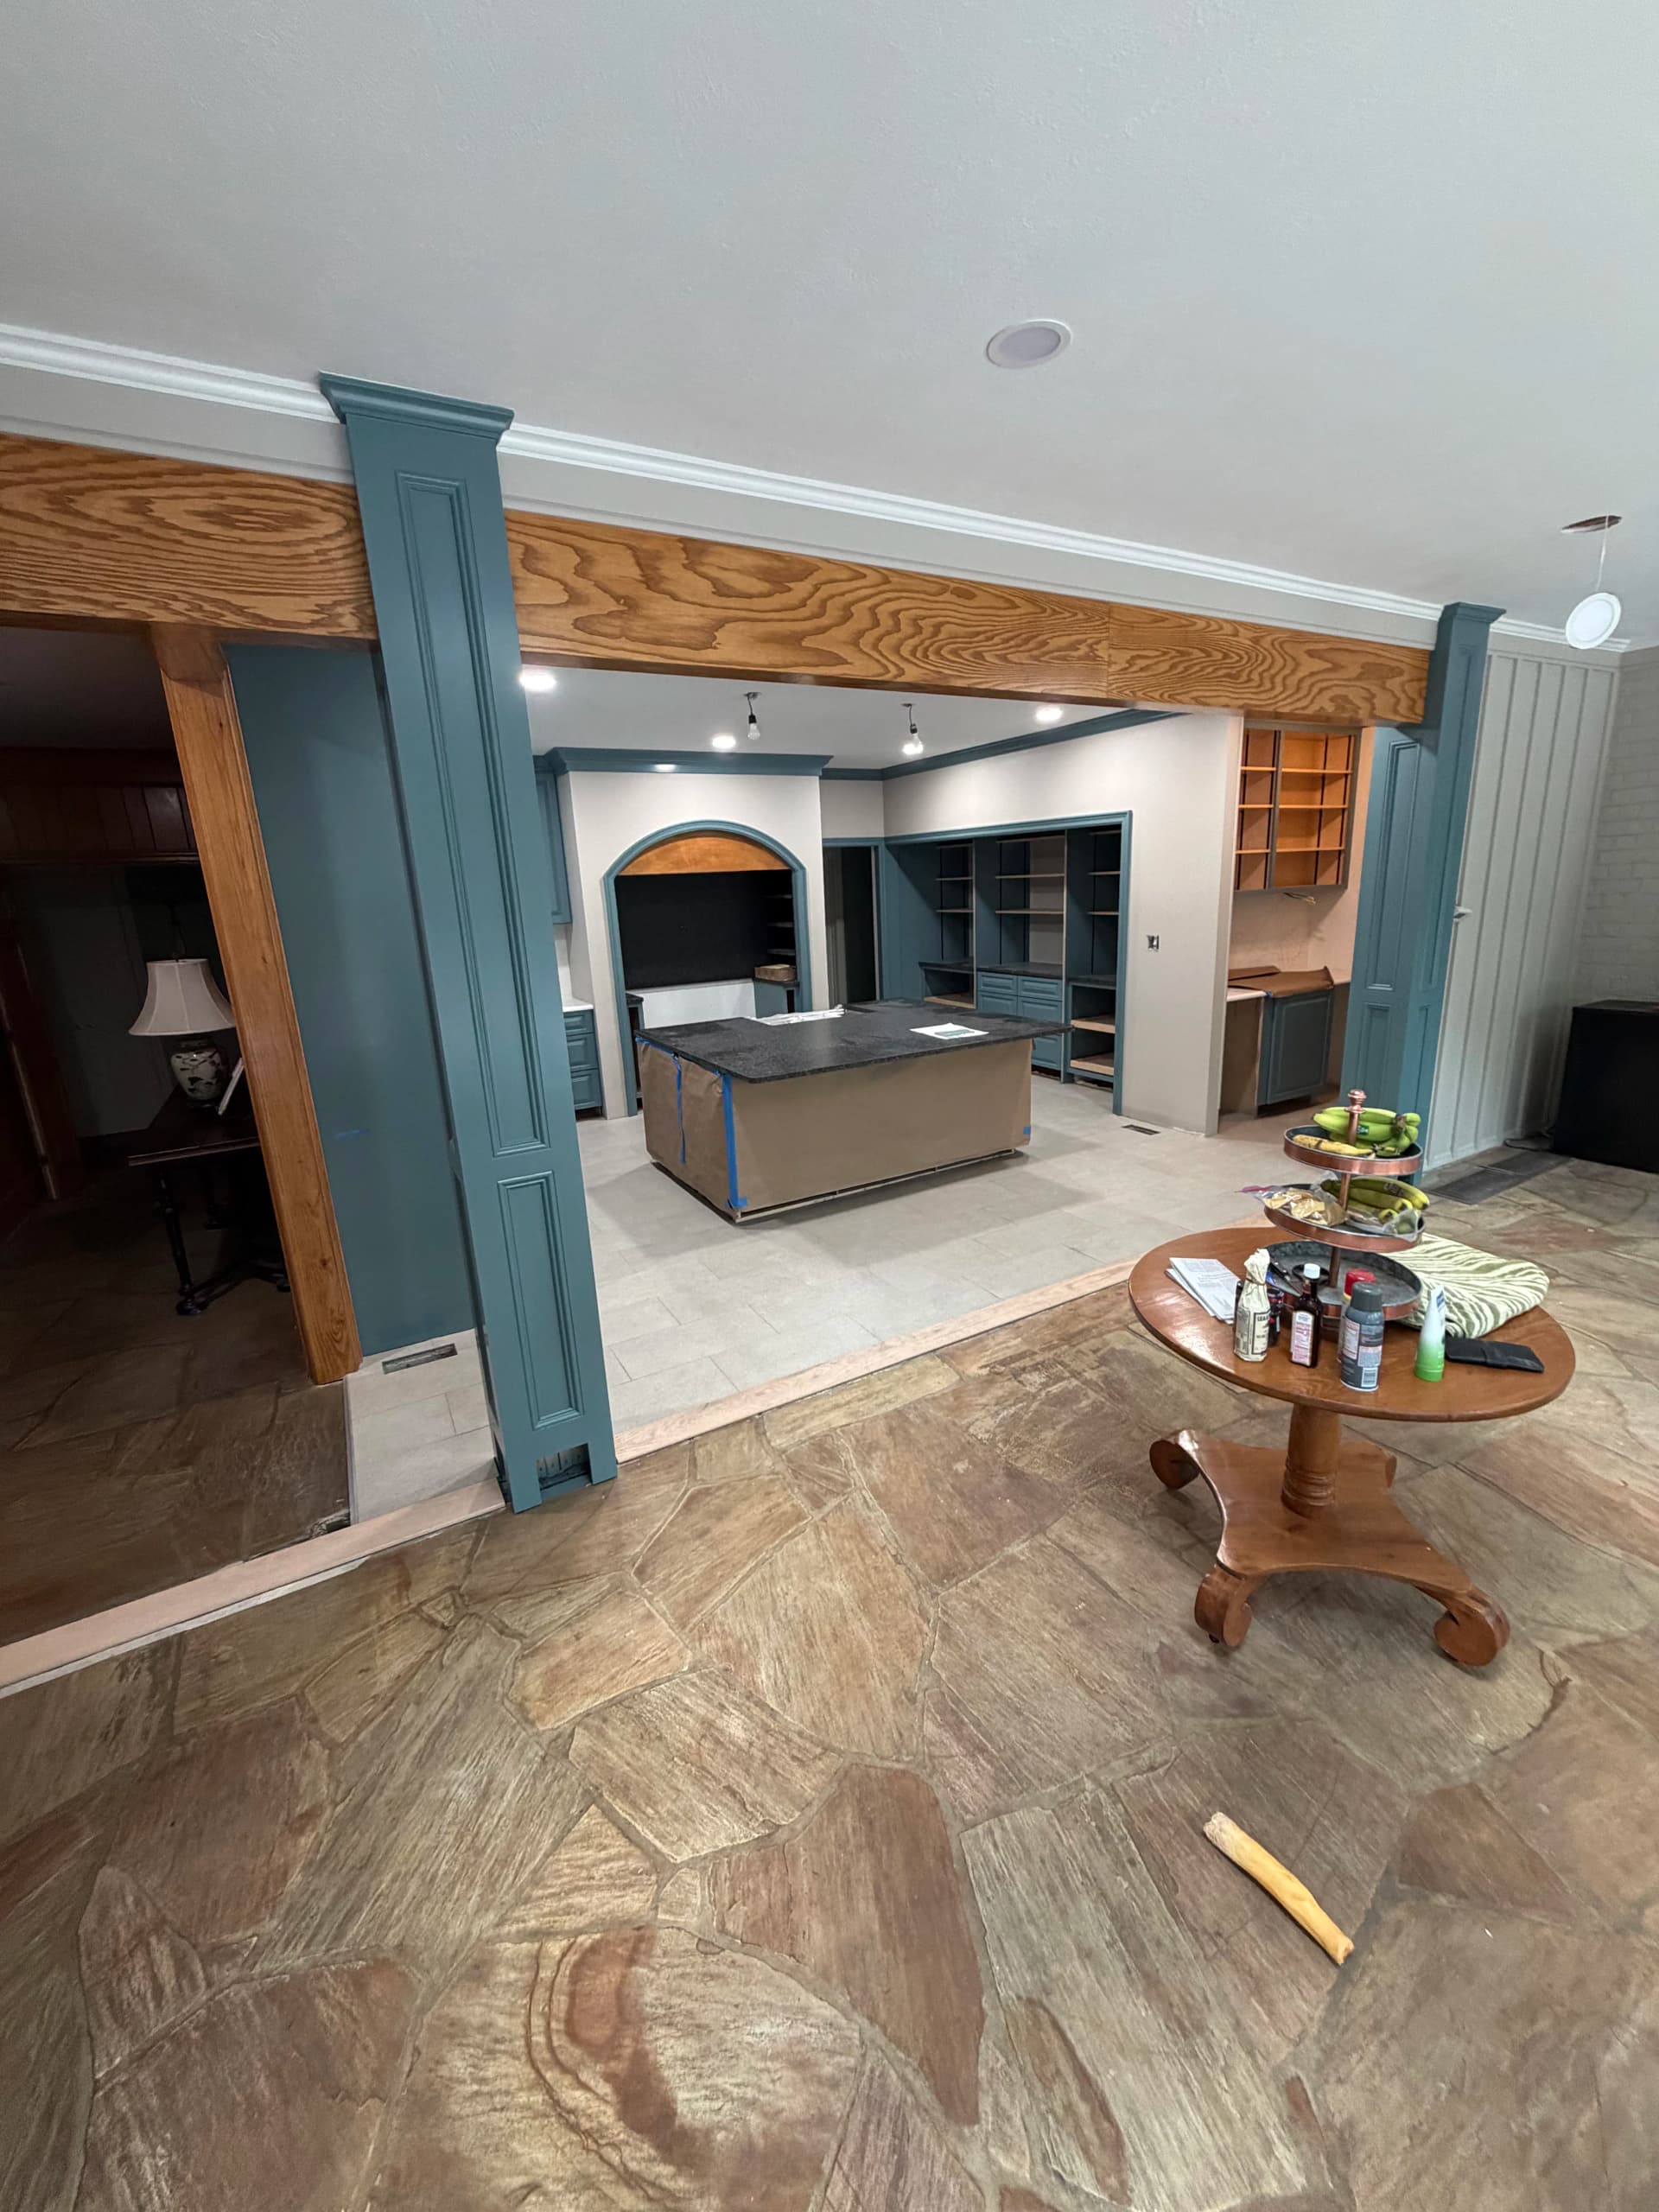
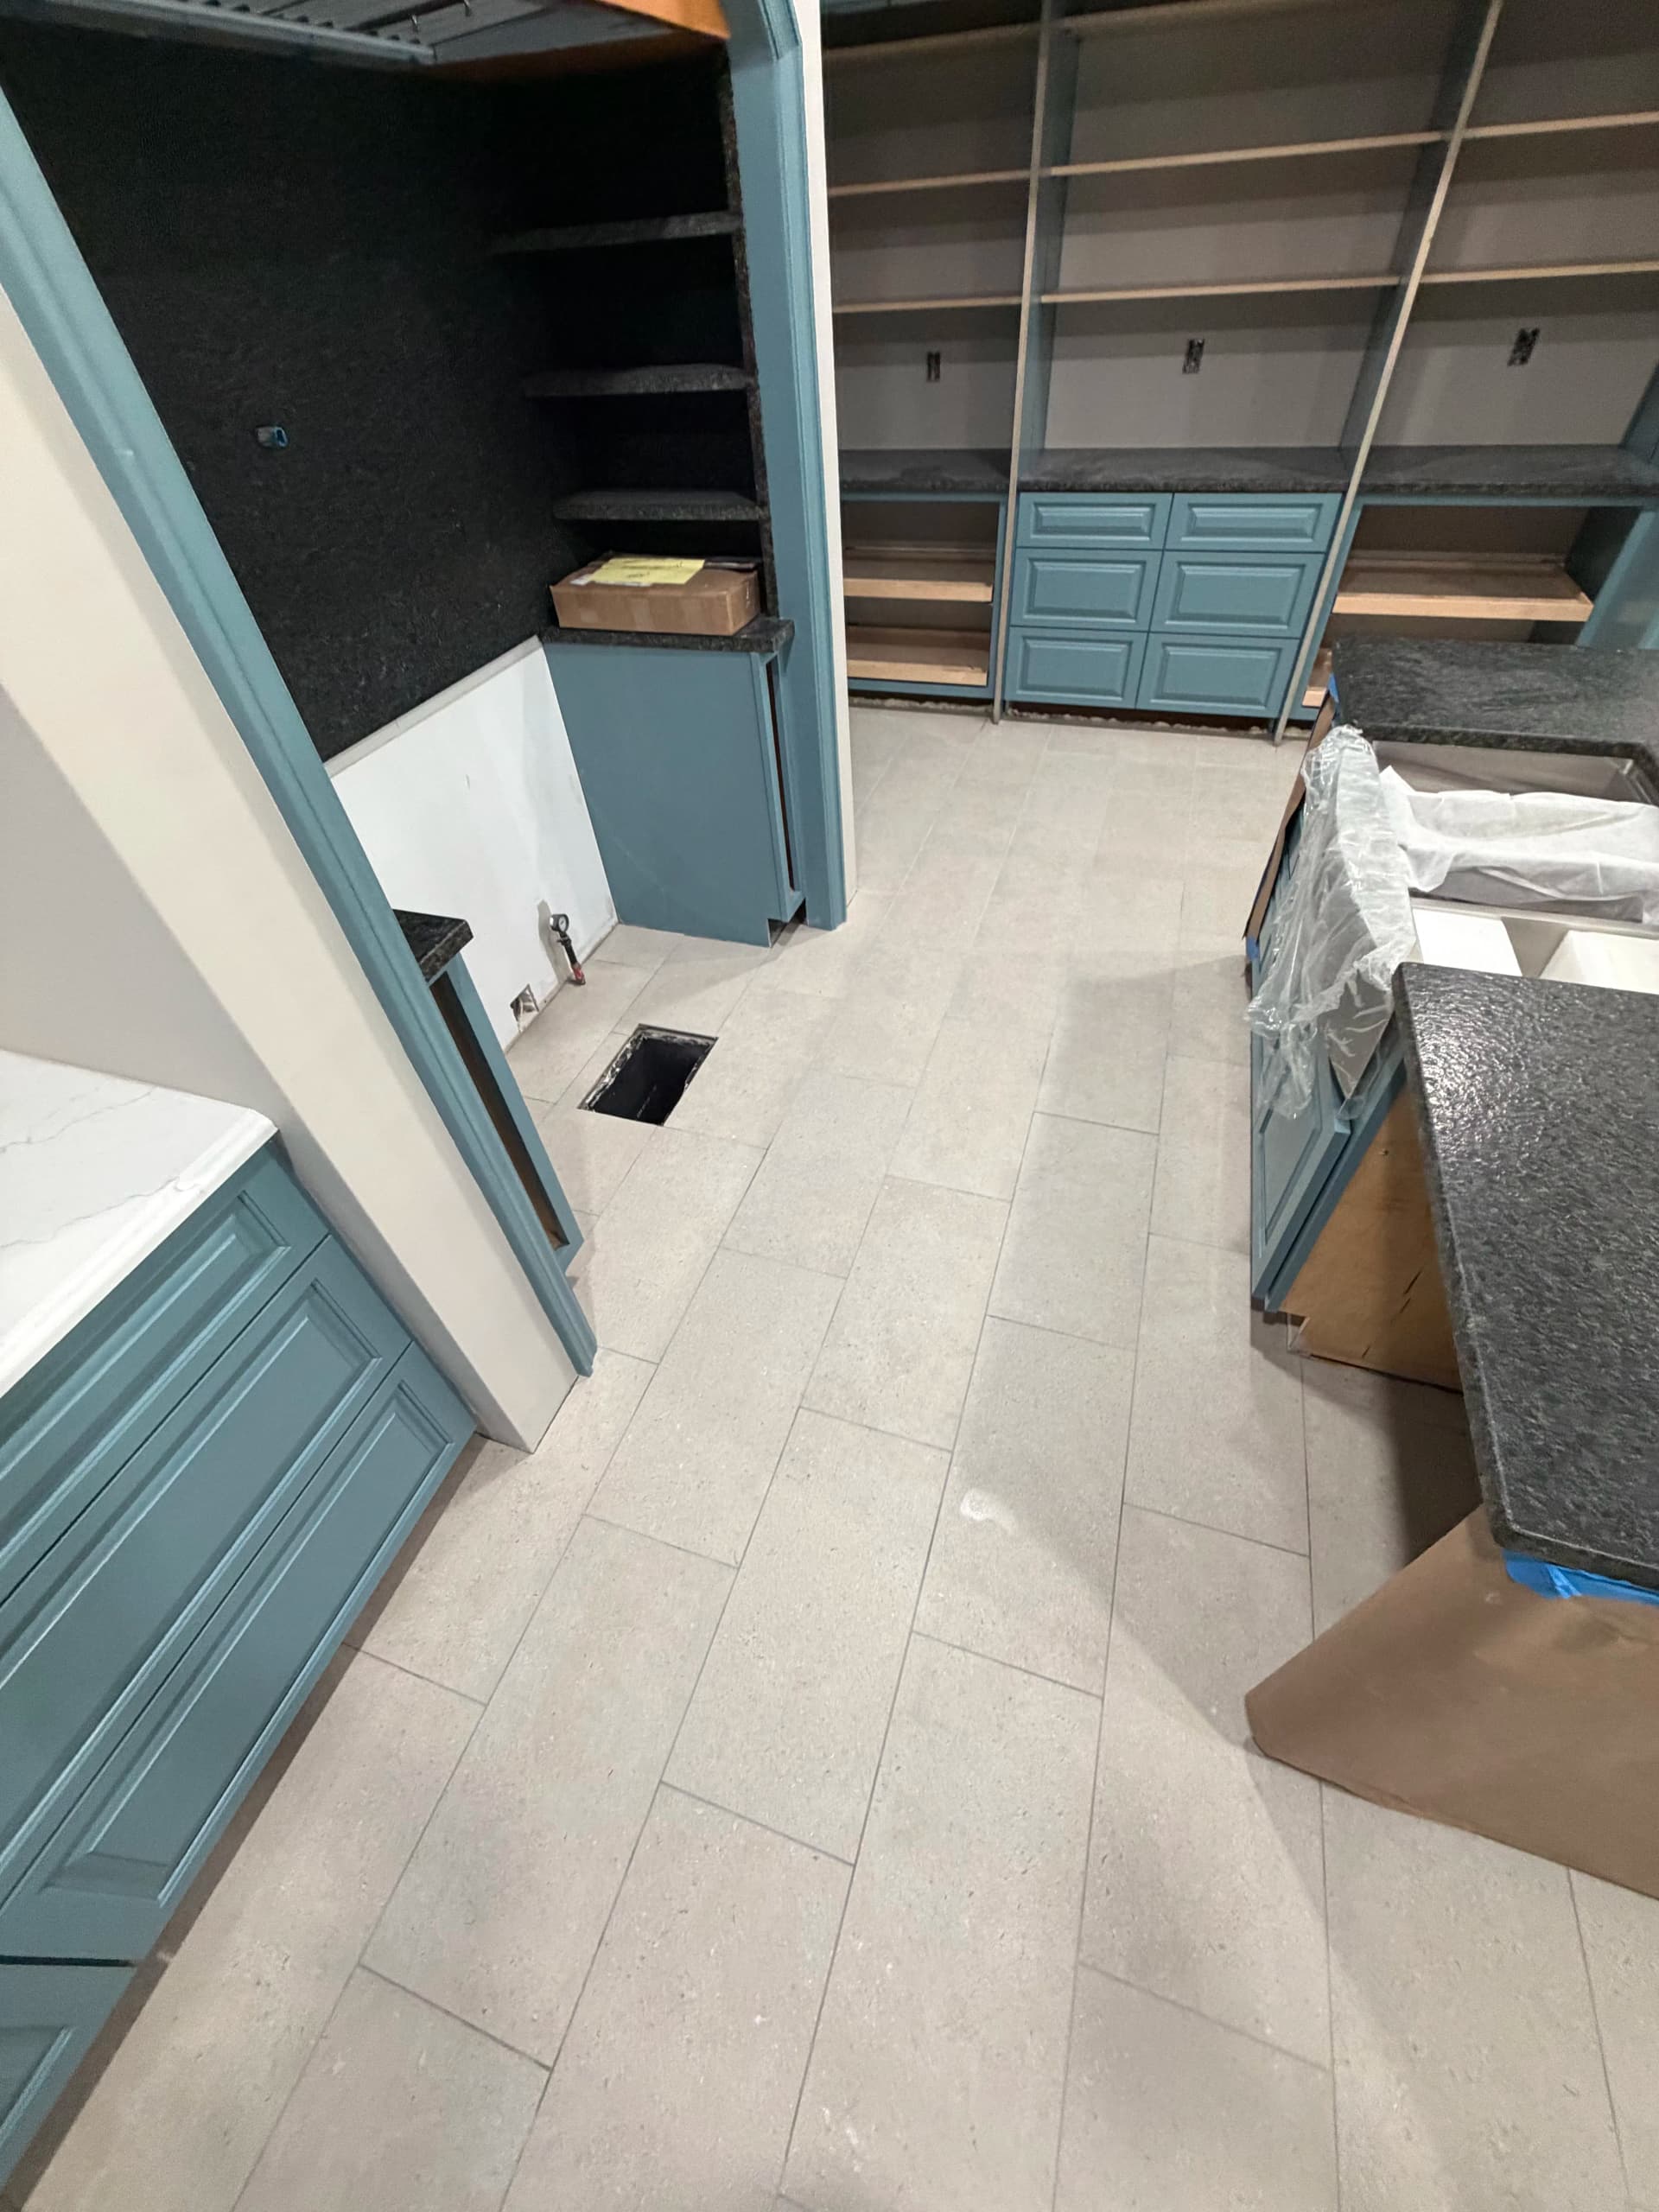
Here's where we are on this kitchen remodel - and honestly, it's starting to look really good. The cabinetry is in, the dark granite island countertop is set, and now the floor is coming together. This is that stage of a remodel where all the individual pieces start talking to each other.
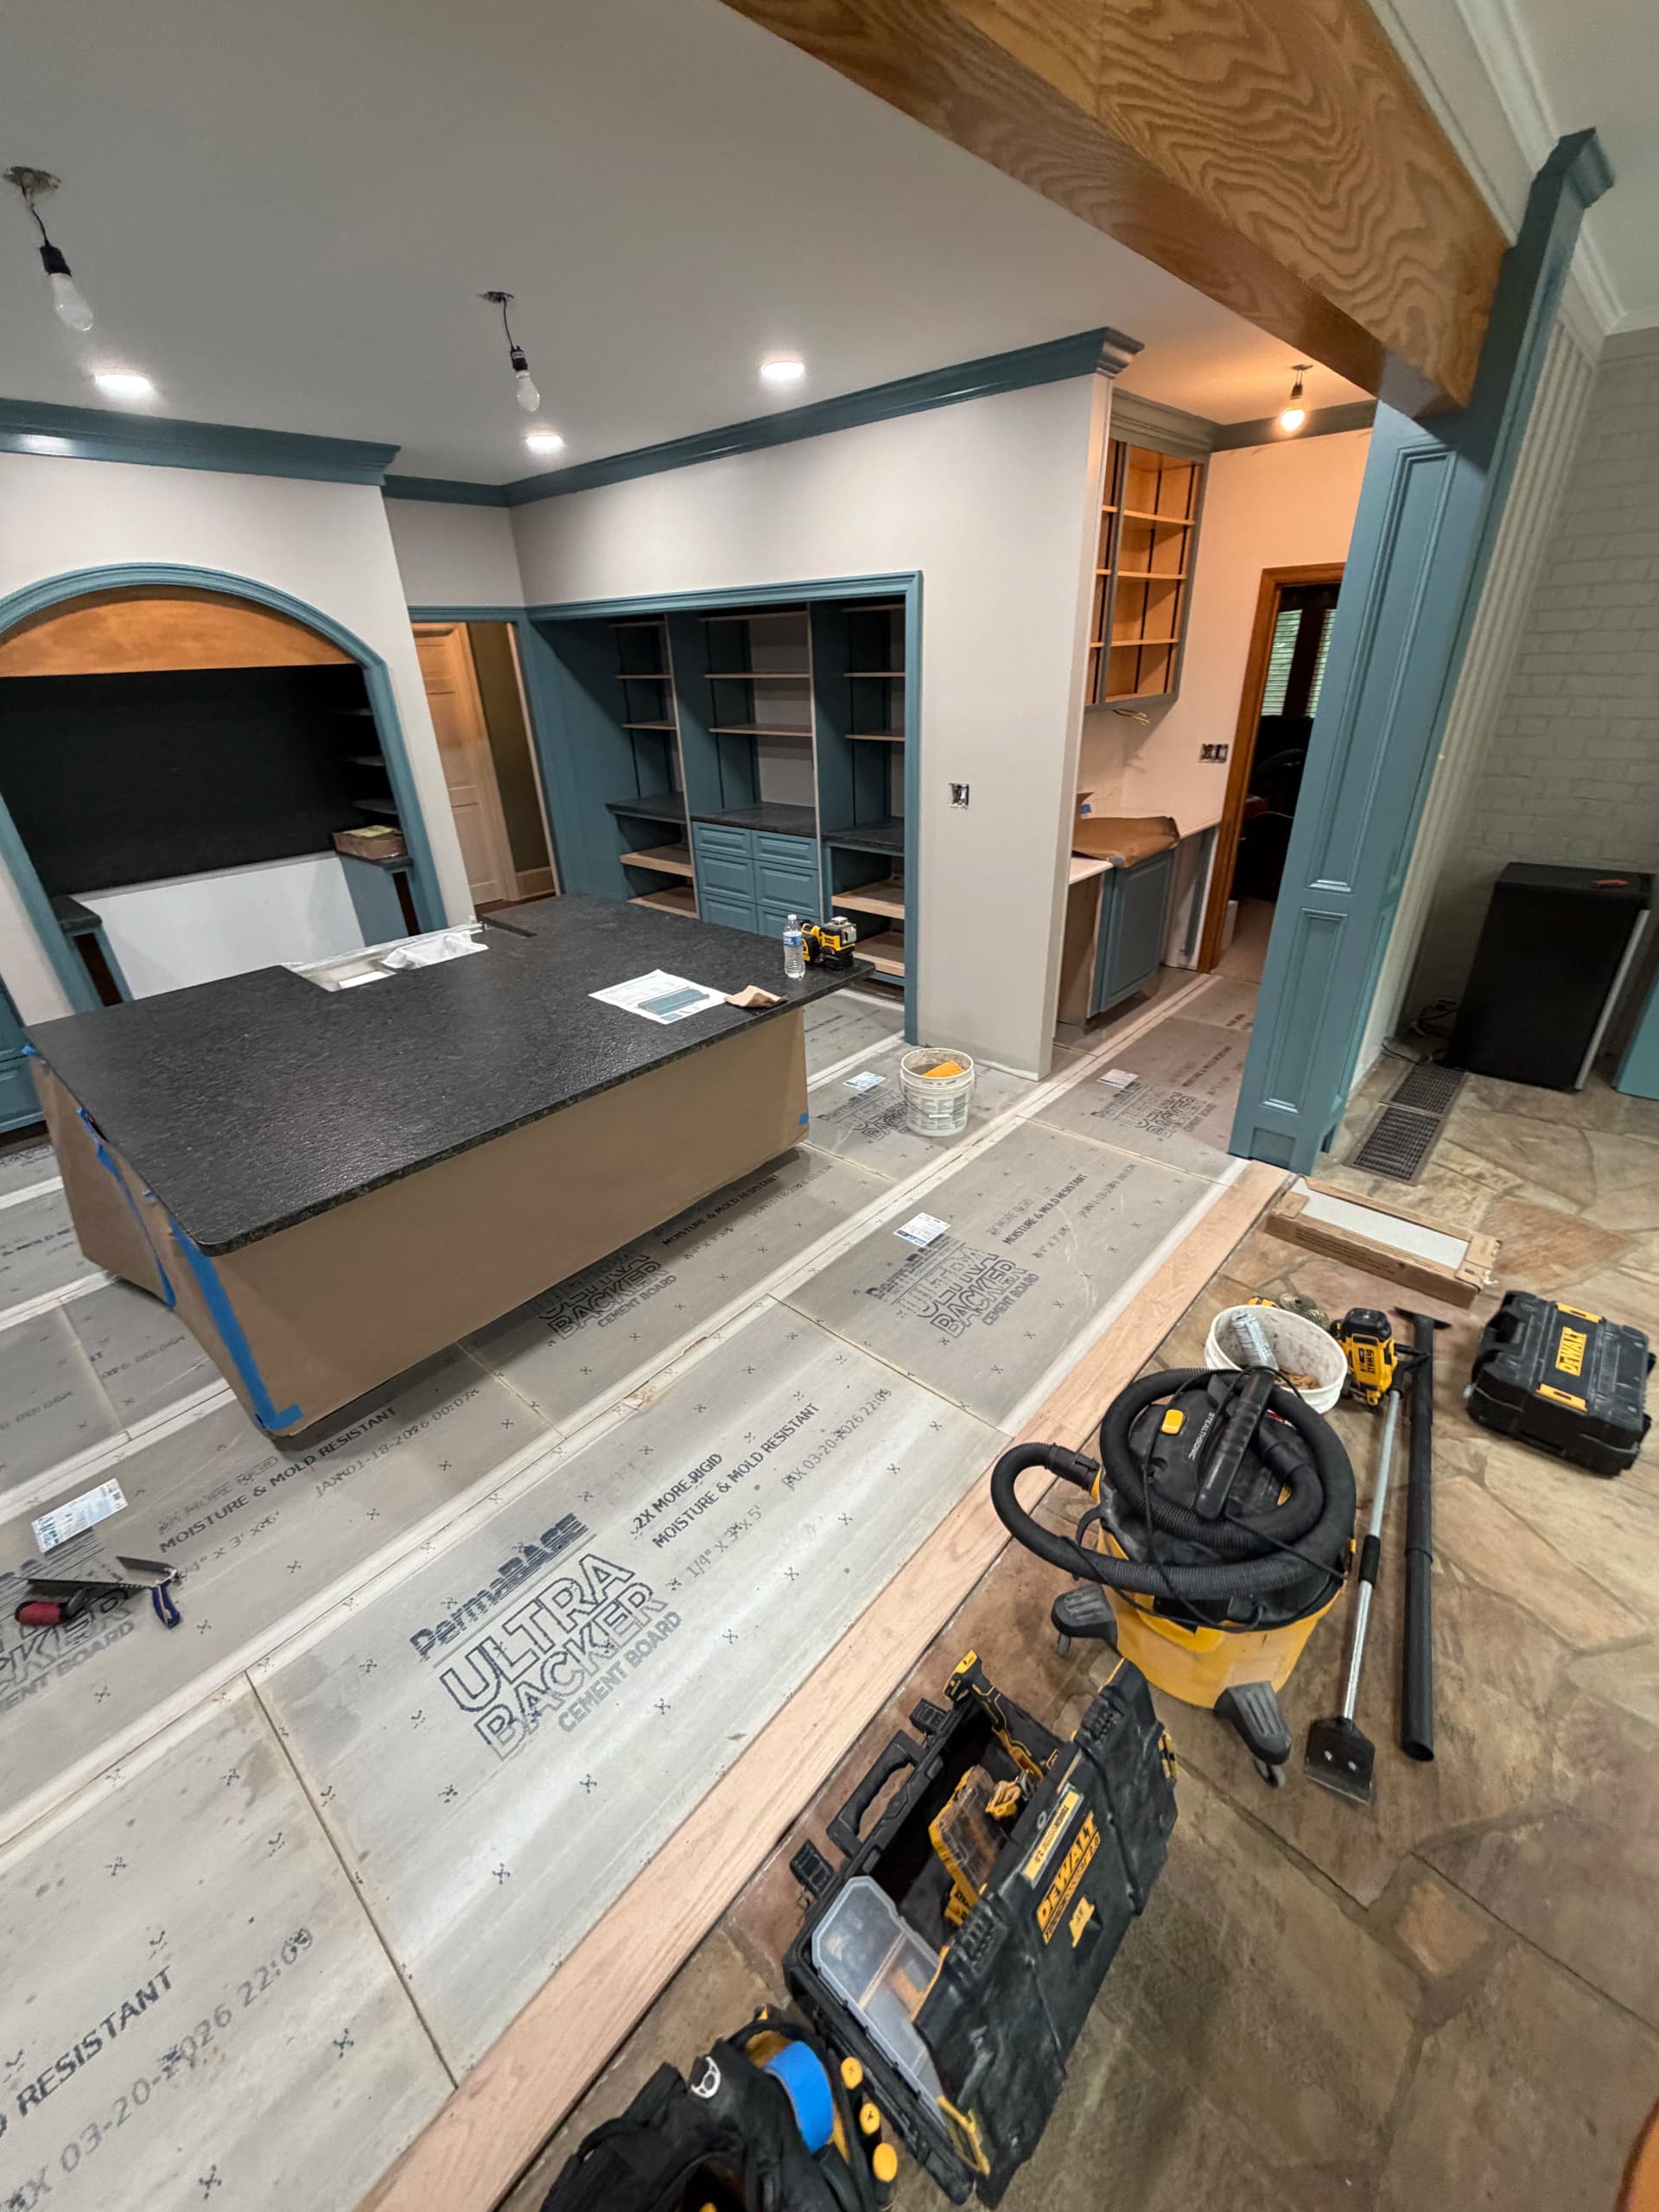
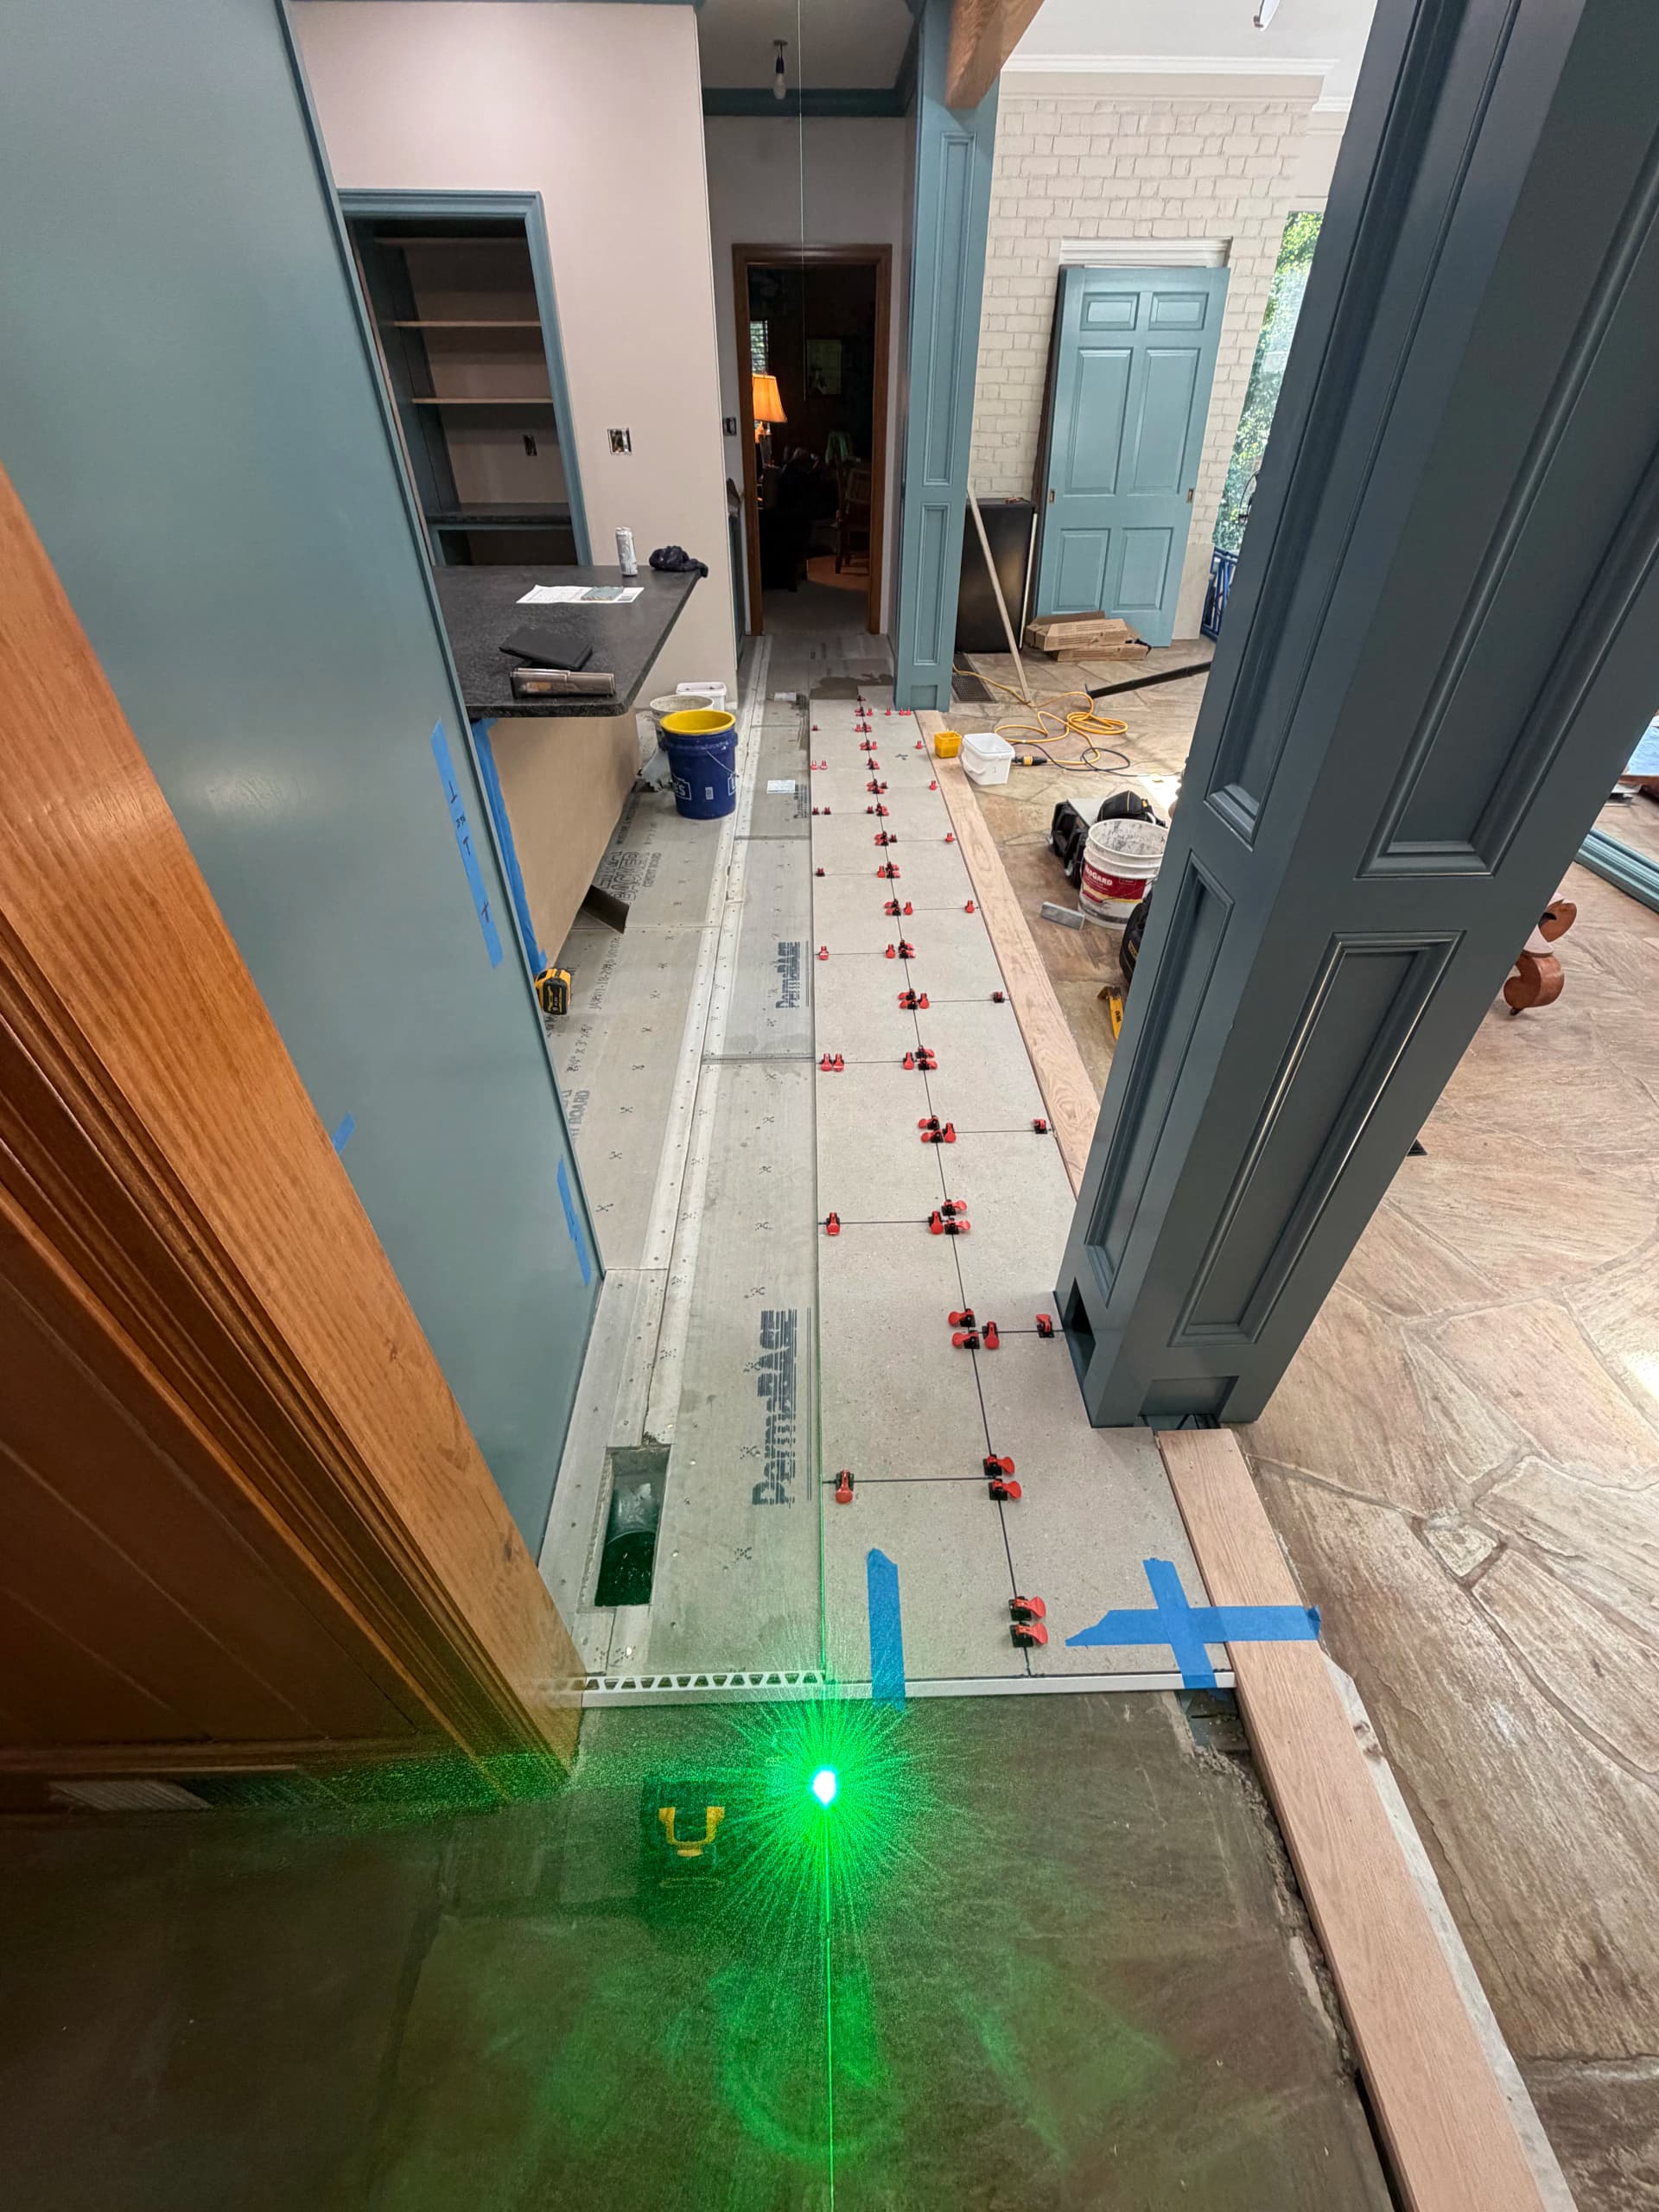
Before a single tile goes down, the prep work has to be done right. We pulled up the old subfloor, got everything flat and solid, and installed 1/4-inch cement board across the entire kitchen floor area. That layer matters more than most people realize. It gives the tile a stable, moisture-resistant base - without it, you're looking at cracked grout and loose tiles down the road.
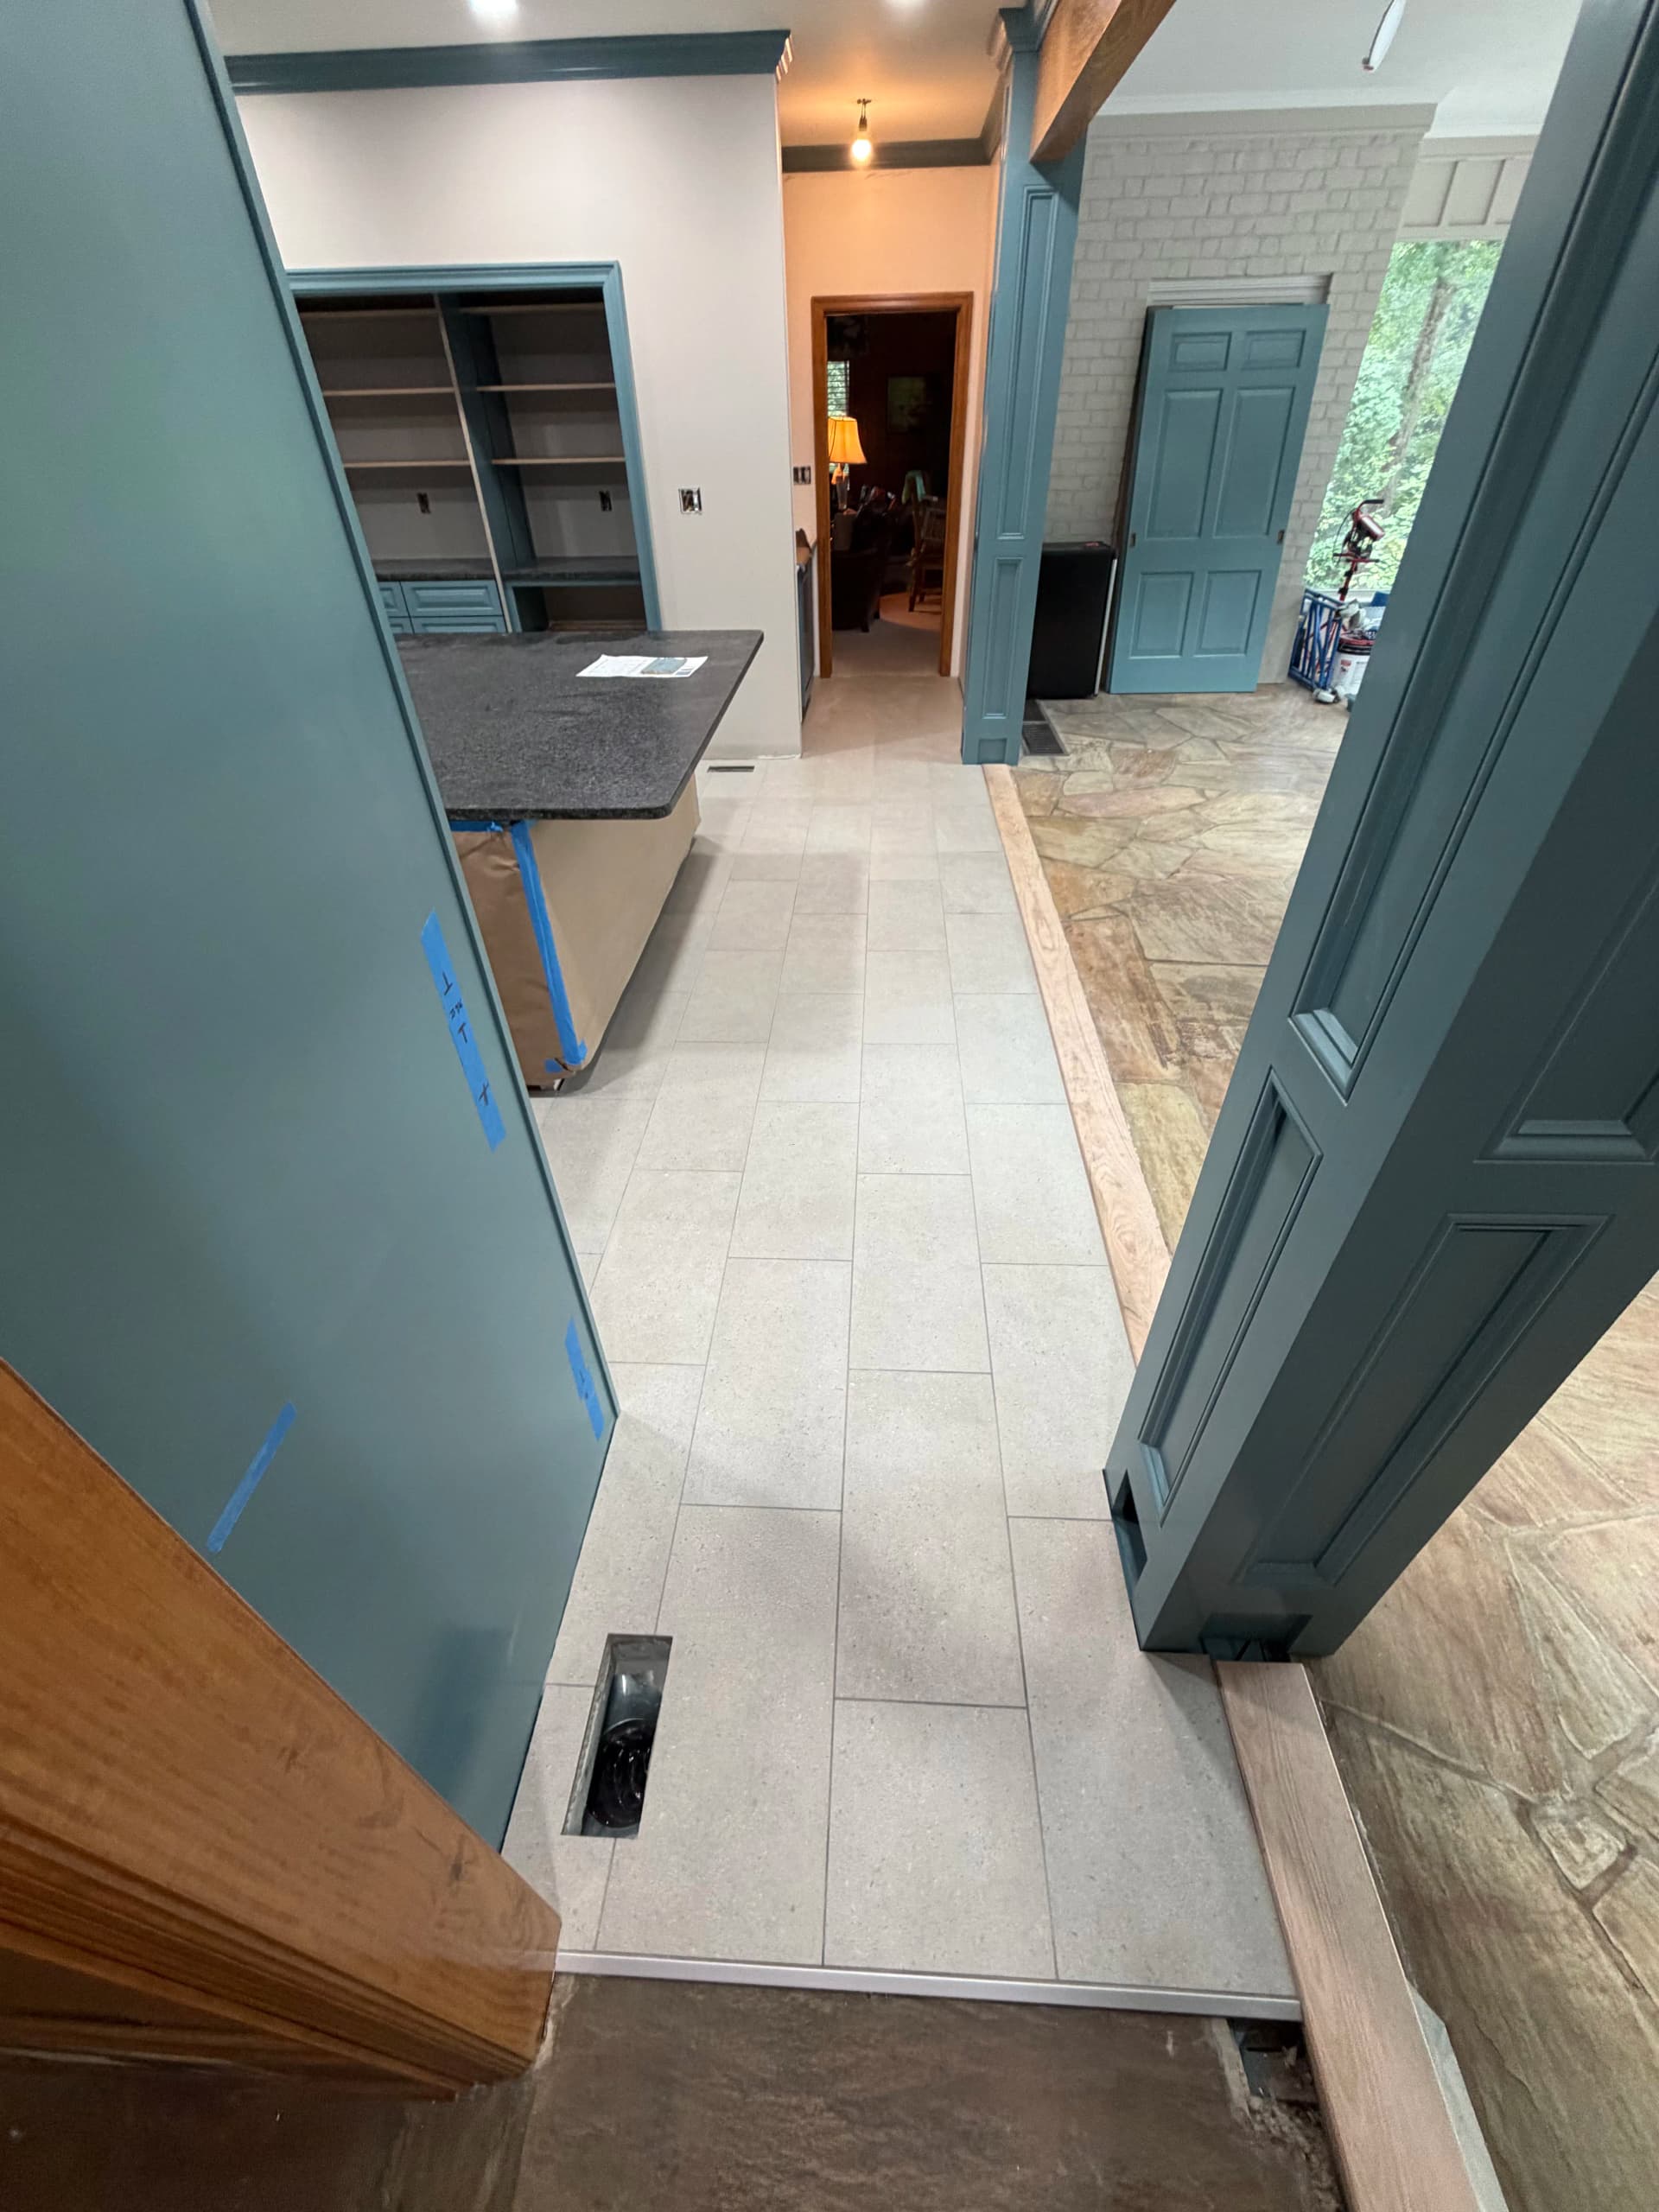
Once the cement board was screwed off and ready, we got to work setting the 12x24 tile. For a large-format tile like this, layout is everything. We used a laser level and tile leveling clips throughout the install to keep every row straight and every tile flat. No lippage, no surprises. The result is a clean, even floor that sits perfectly with the rest of the space.
The finished tile floor ties in well with the slate-blue cabinetry and the existing stone flooring in the adjacent room. The lighter tone of the 12x24 tile keeps the kitchen feeling open without competing with everything else going on in the space. There's still work left to do, but this floor is locked in and built to last.
Subfloor prep, cement board, large-format tile setting - it all sounds simple, but the details at each step are what separate a floor that holds up for decades from one that gives you problems in a few years. We don't skip steps, and this kitchen is a good example of that.