Diagonal 12x12 Tile Floor Upgrade in a Small Bathroom
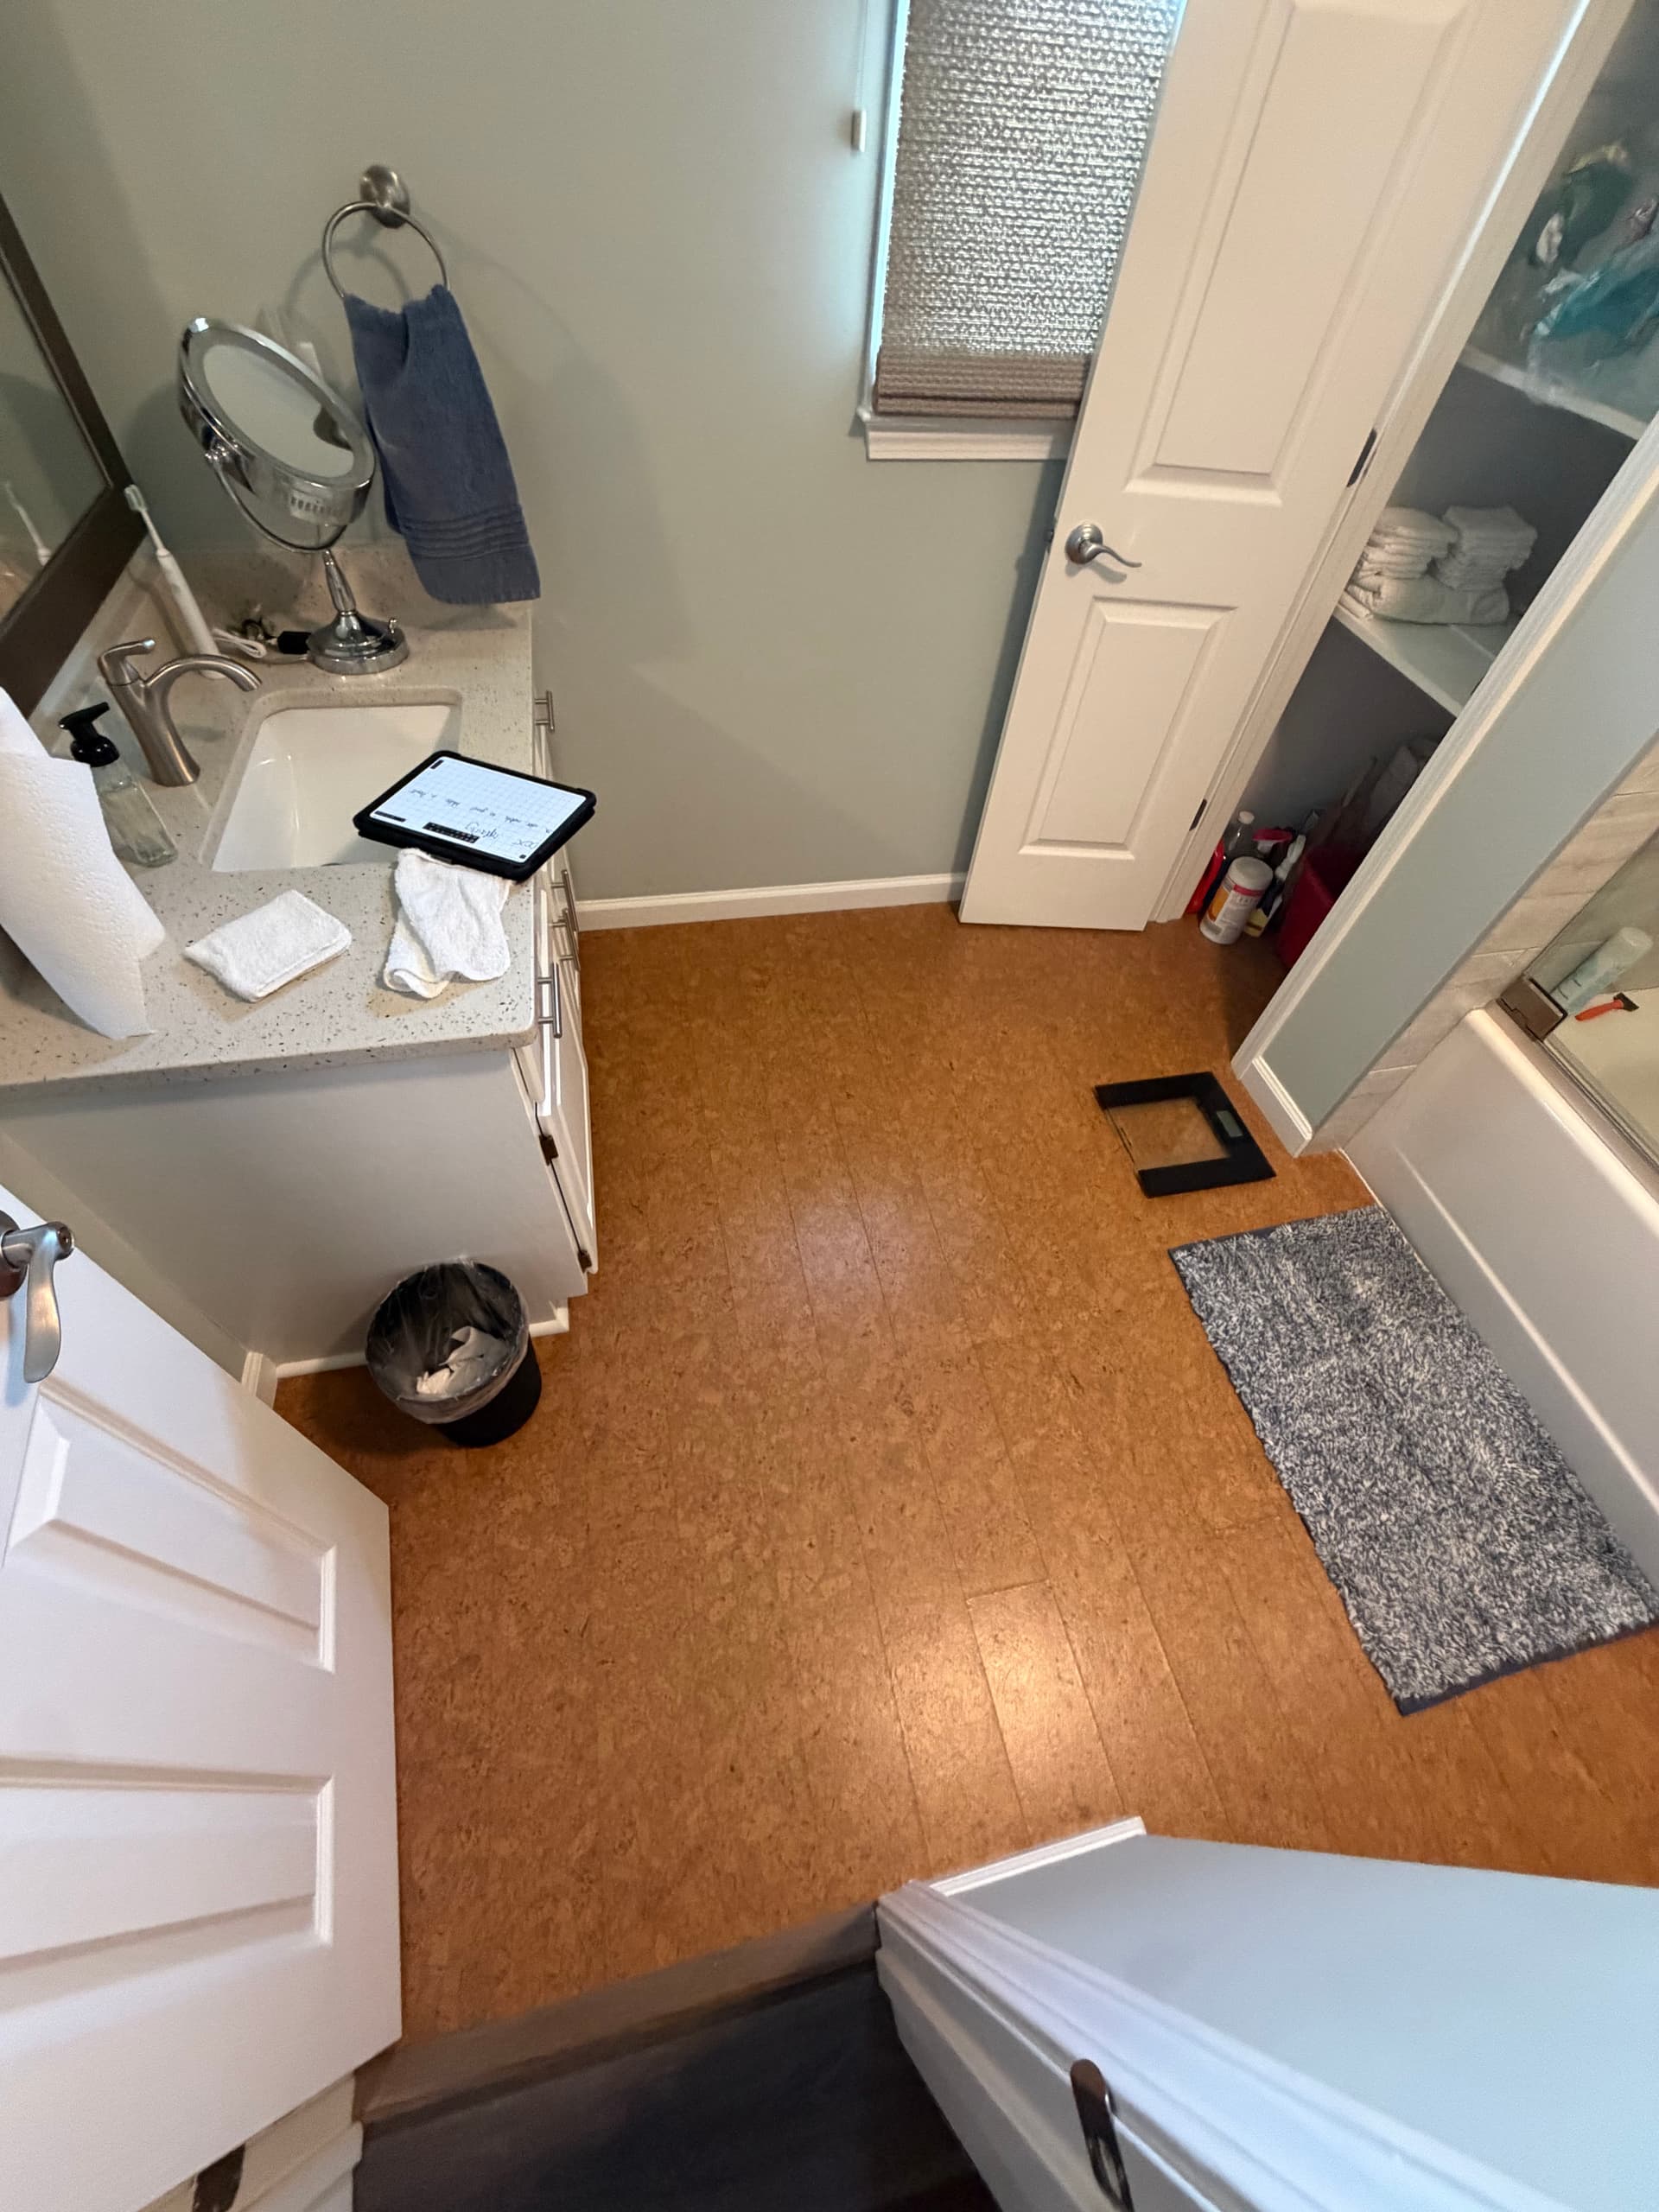
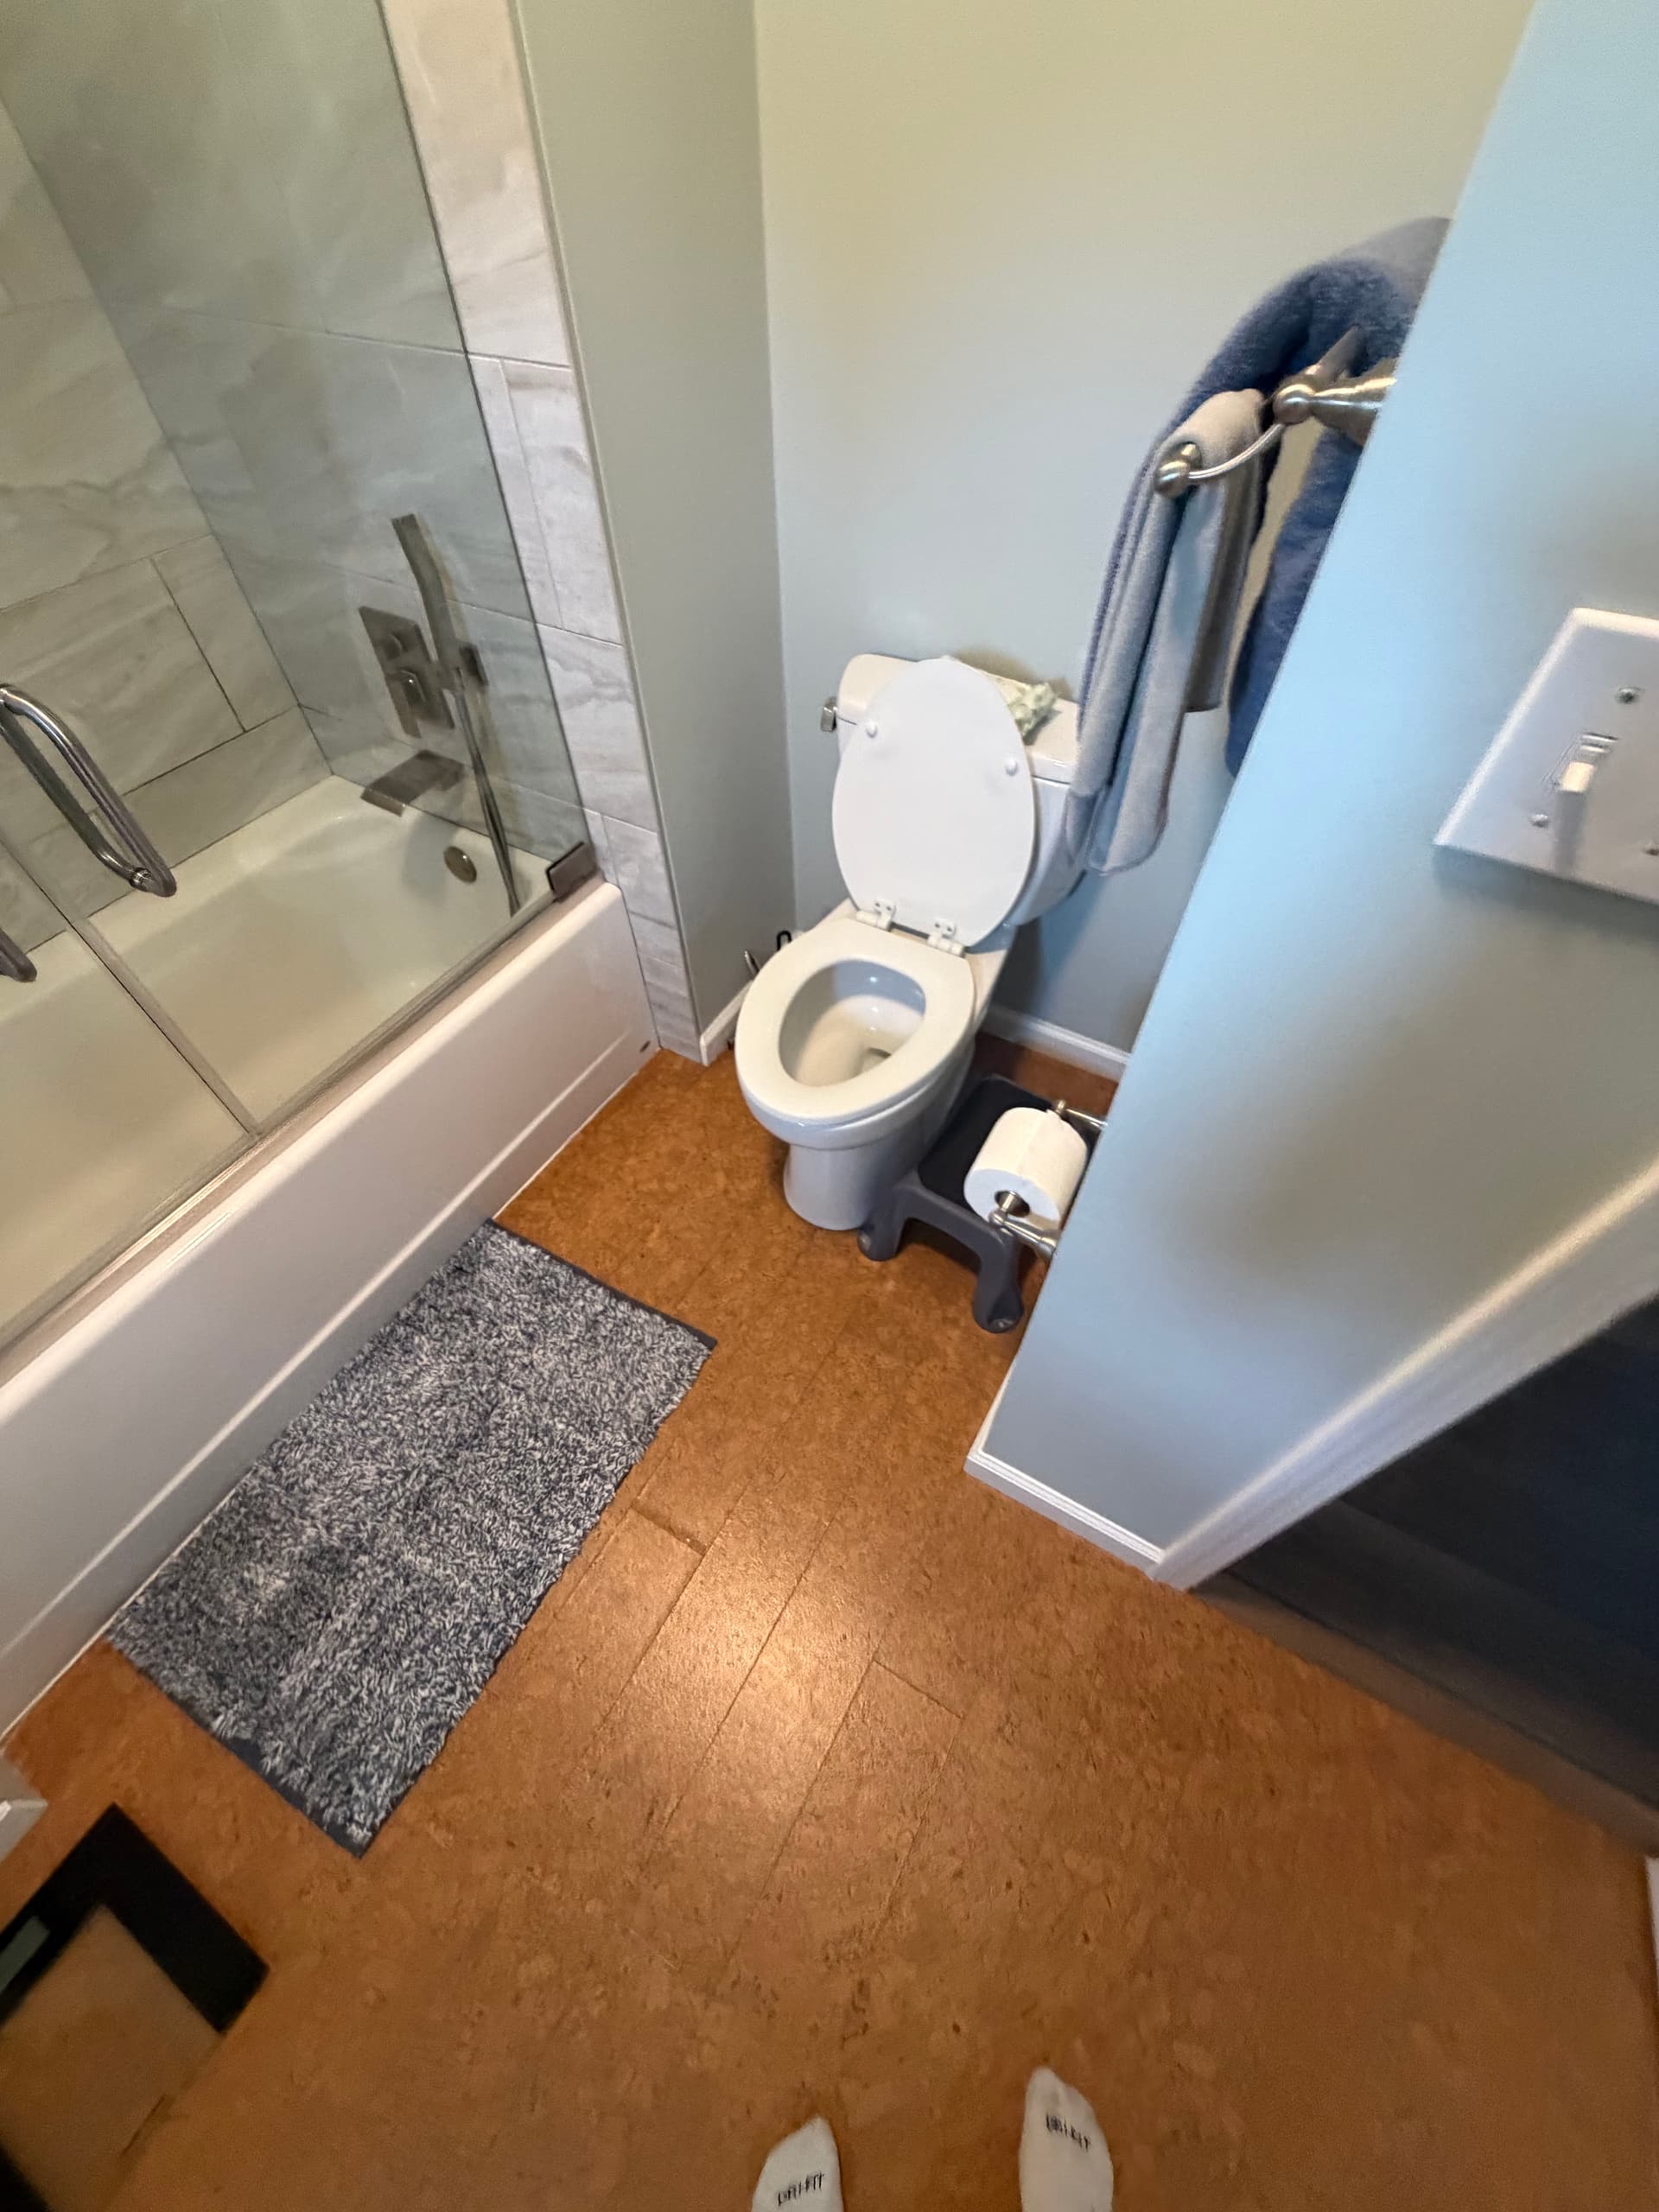
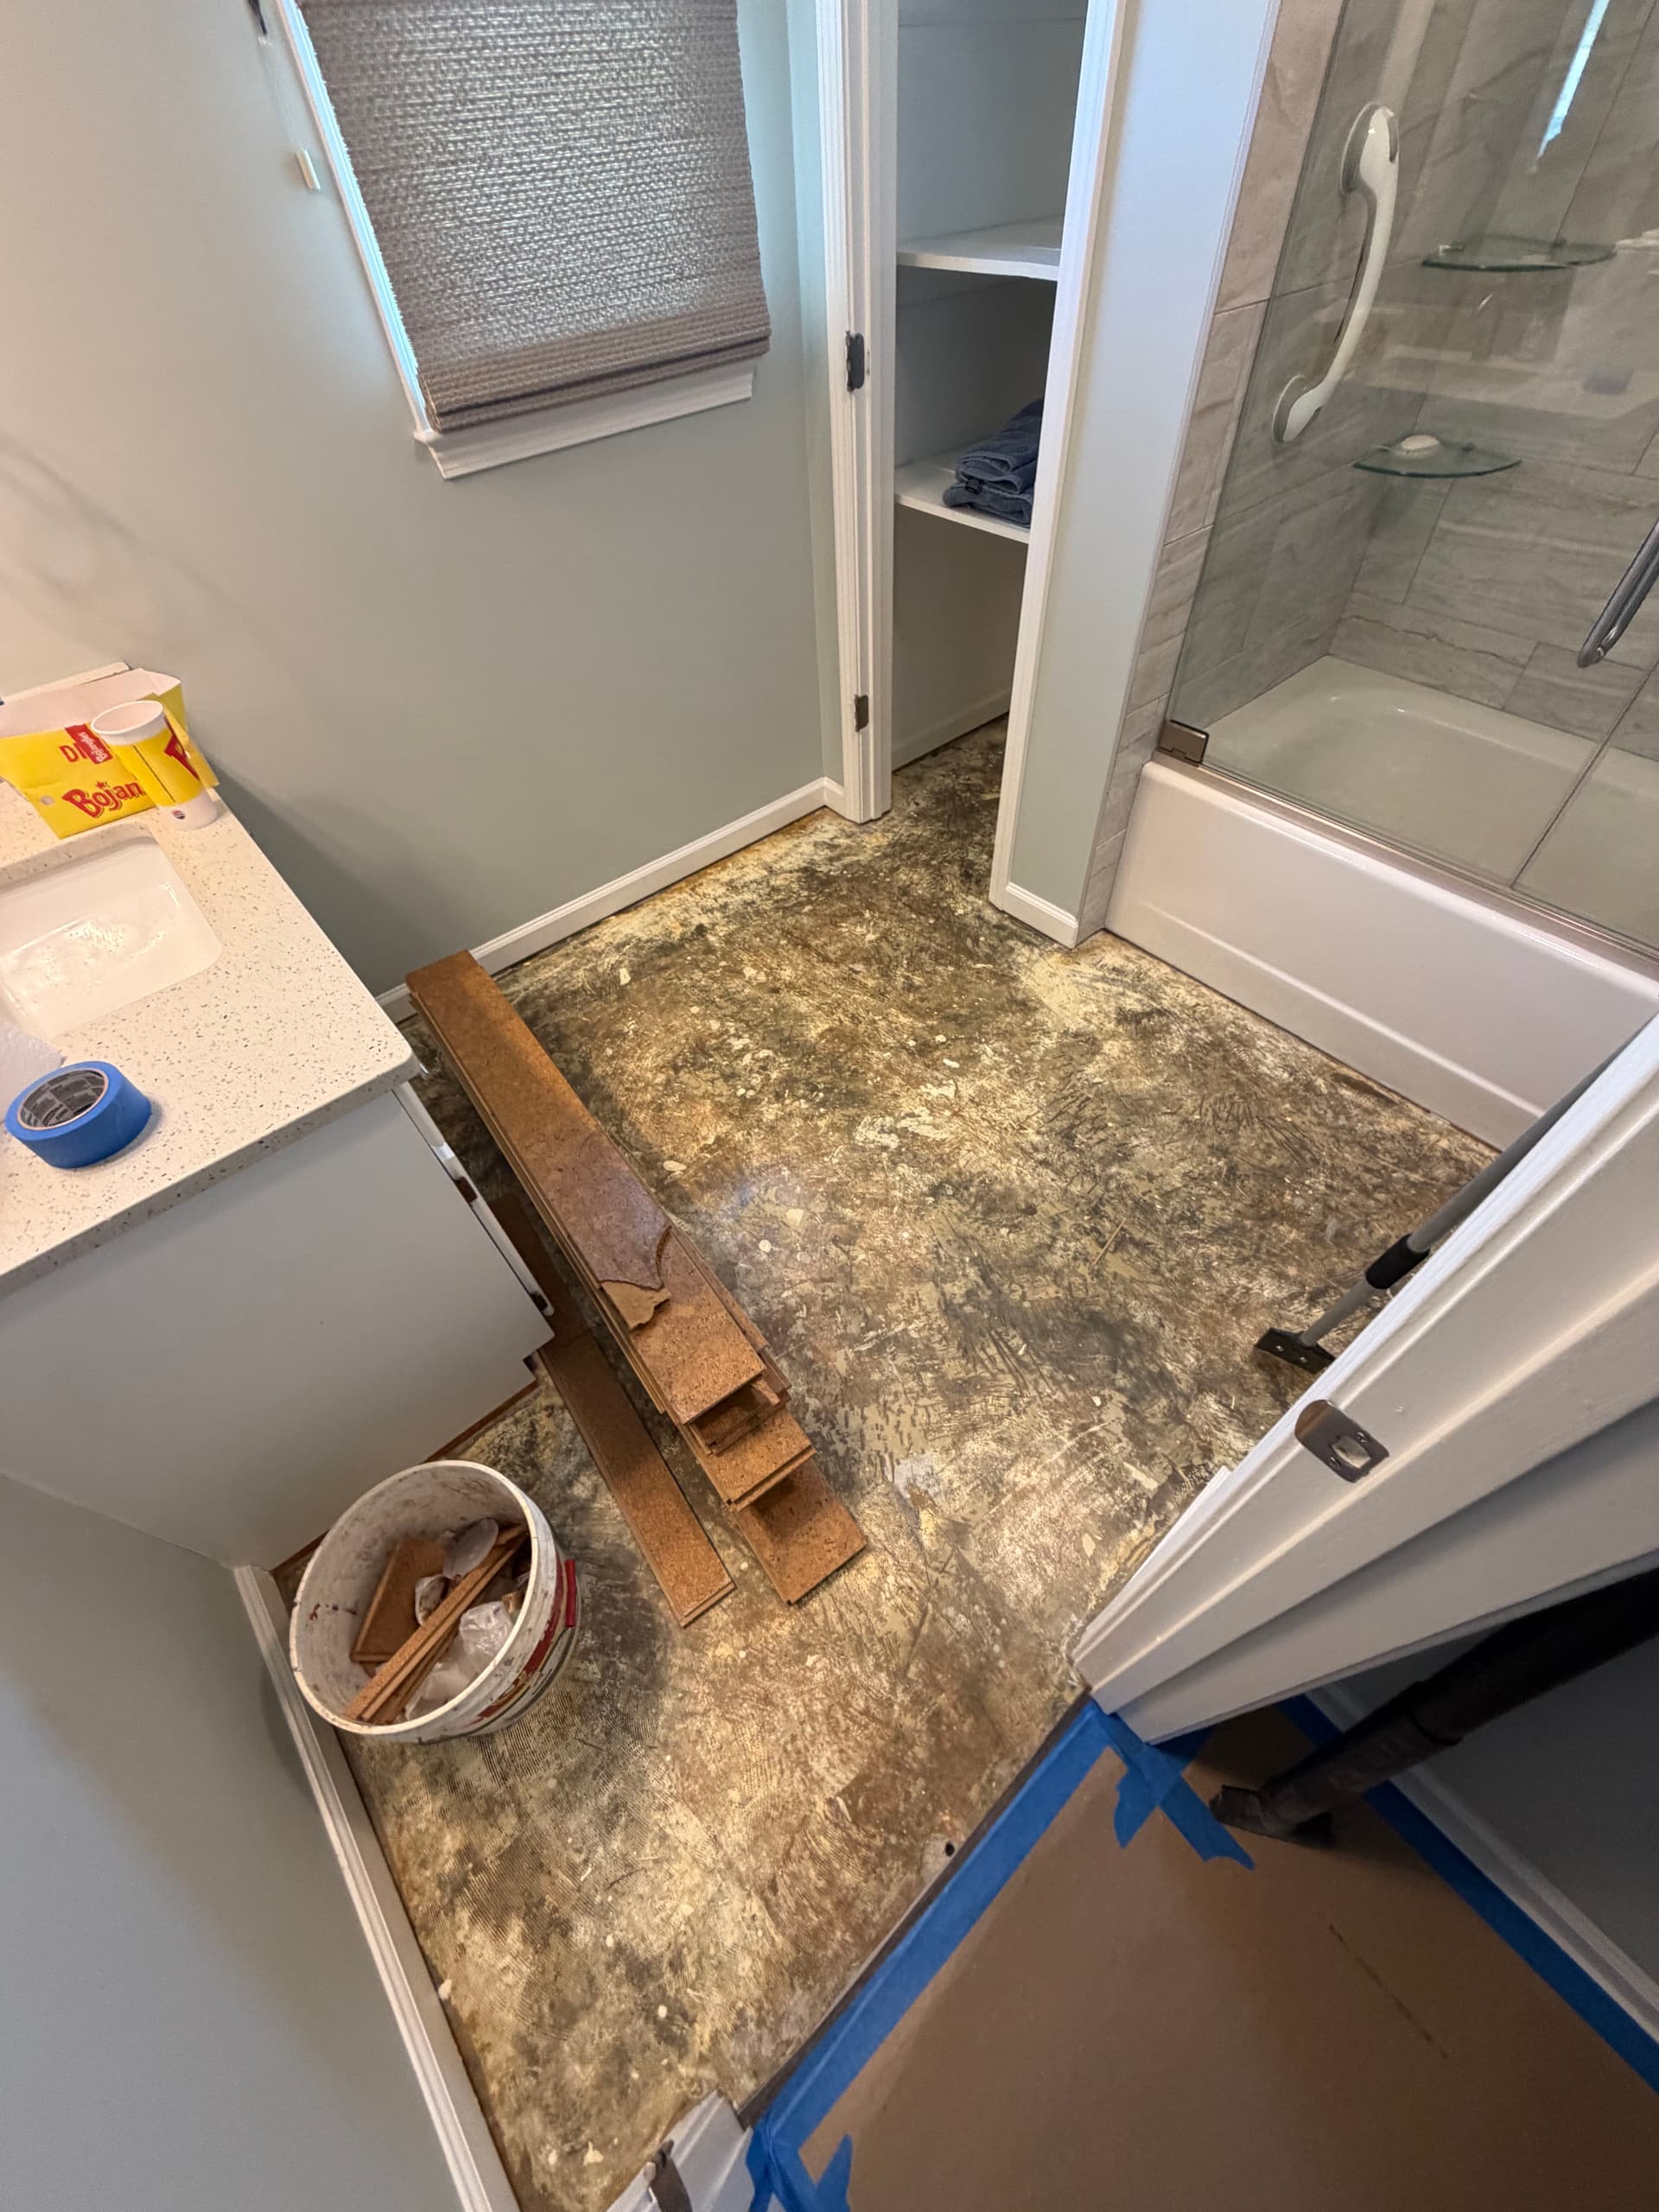
Here's what we were working with - an older cork-style sheet floor that had seen better days. Worn, dated, and just not doing the space any favors. The homeowner wanted something cleaner and more timeless, so we got to work pulling it all up and prepping the concrete slab underneath the right way.
Prep is everything with tile. Once the old flooring was out, we had bare concrete to work with - and we made sure it was properly cleaned and ready before a single tile went down. Skipping that step is how you end up with tiles that crack or shift down the road. We don't cut corners there, ever.
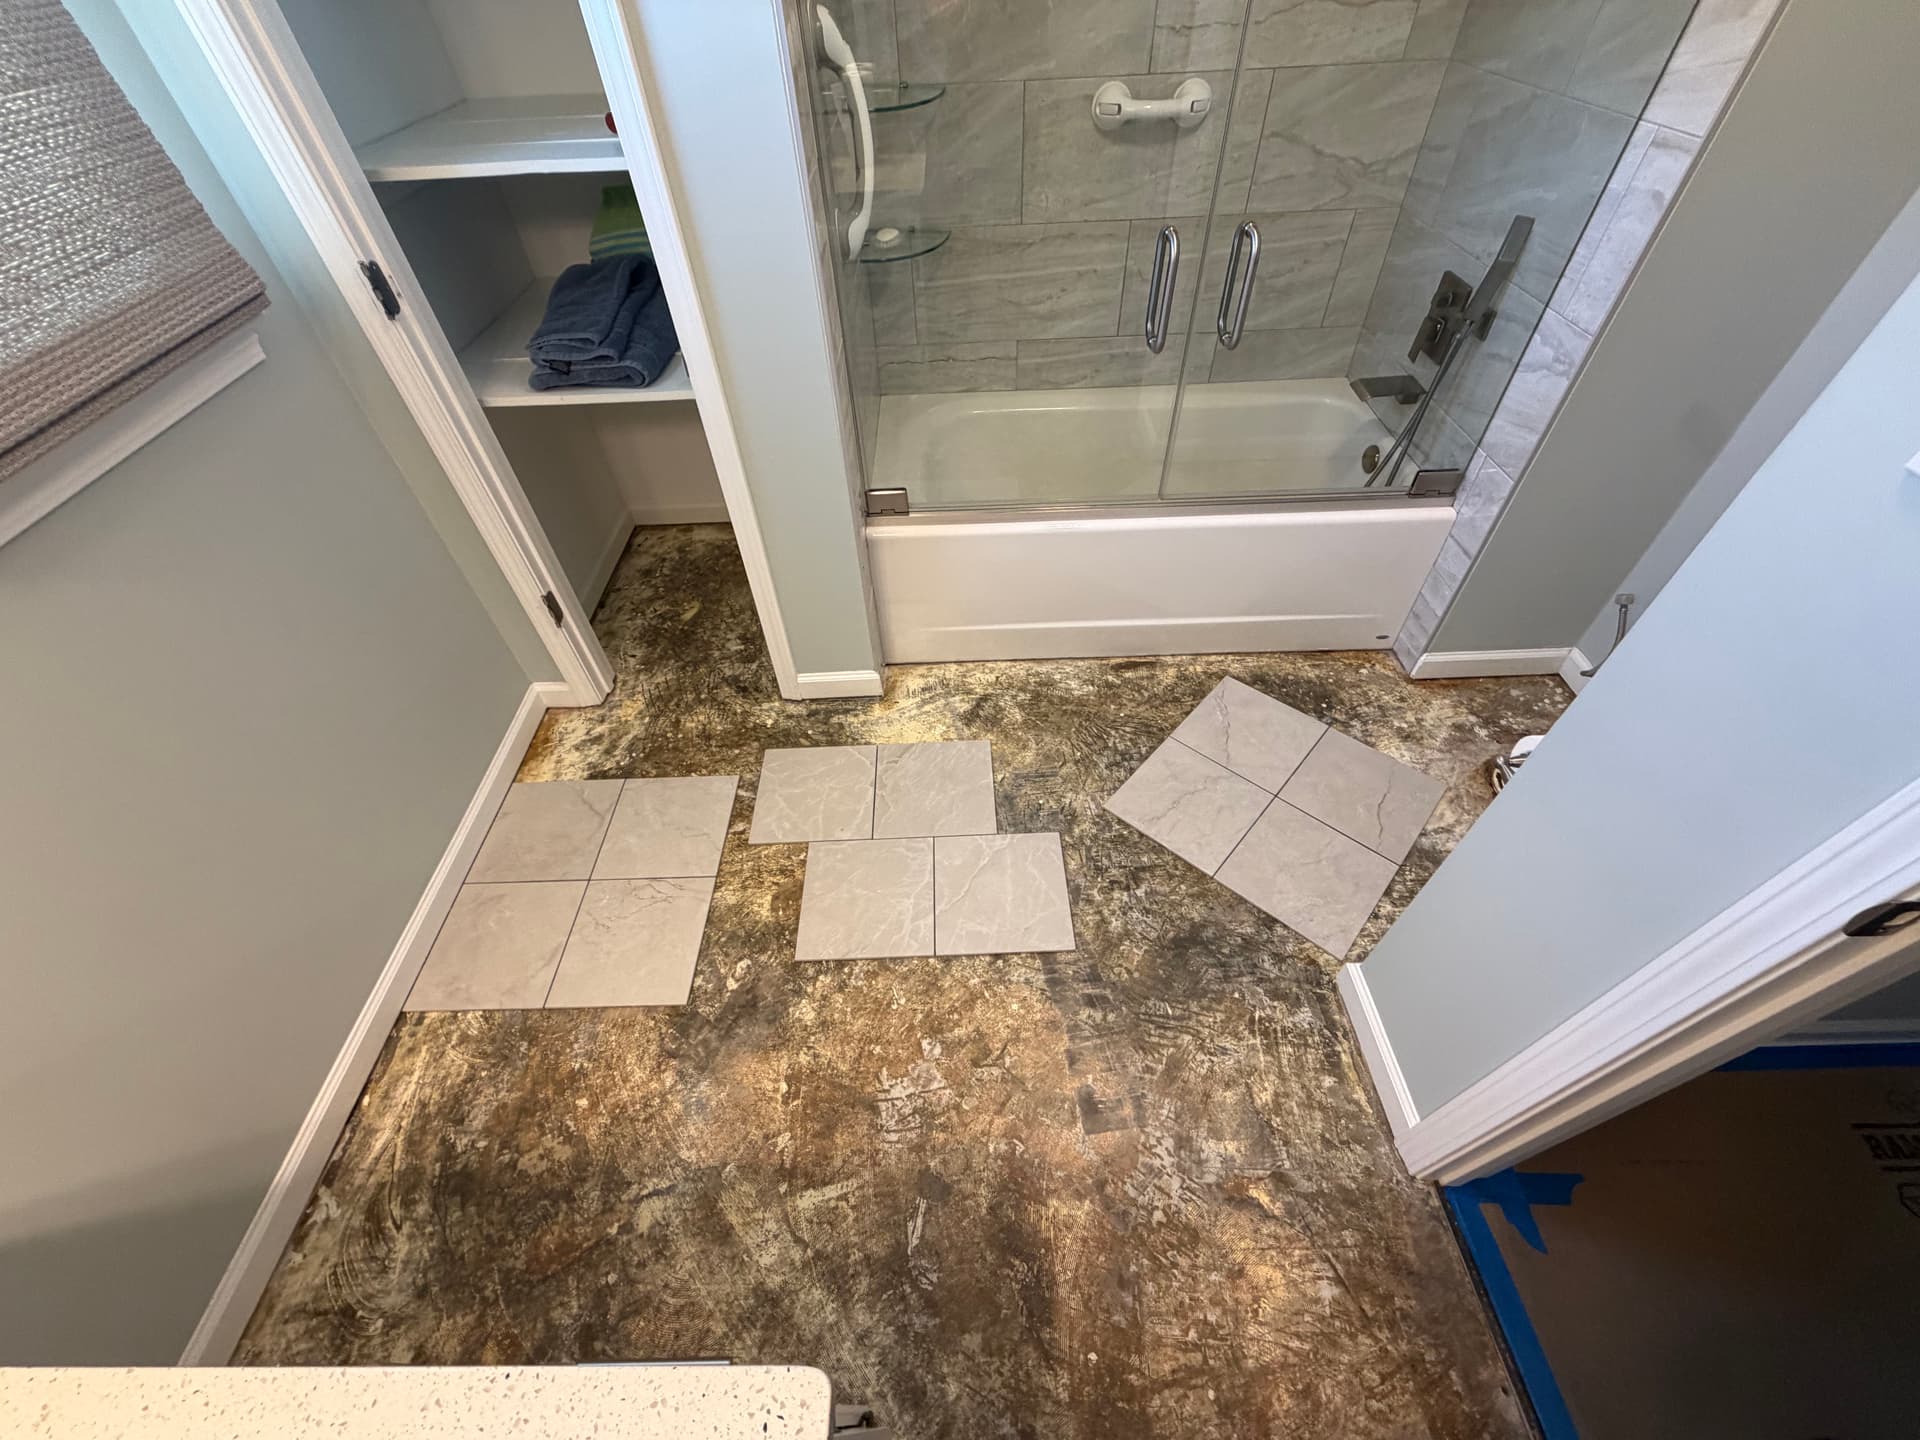
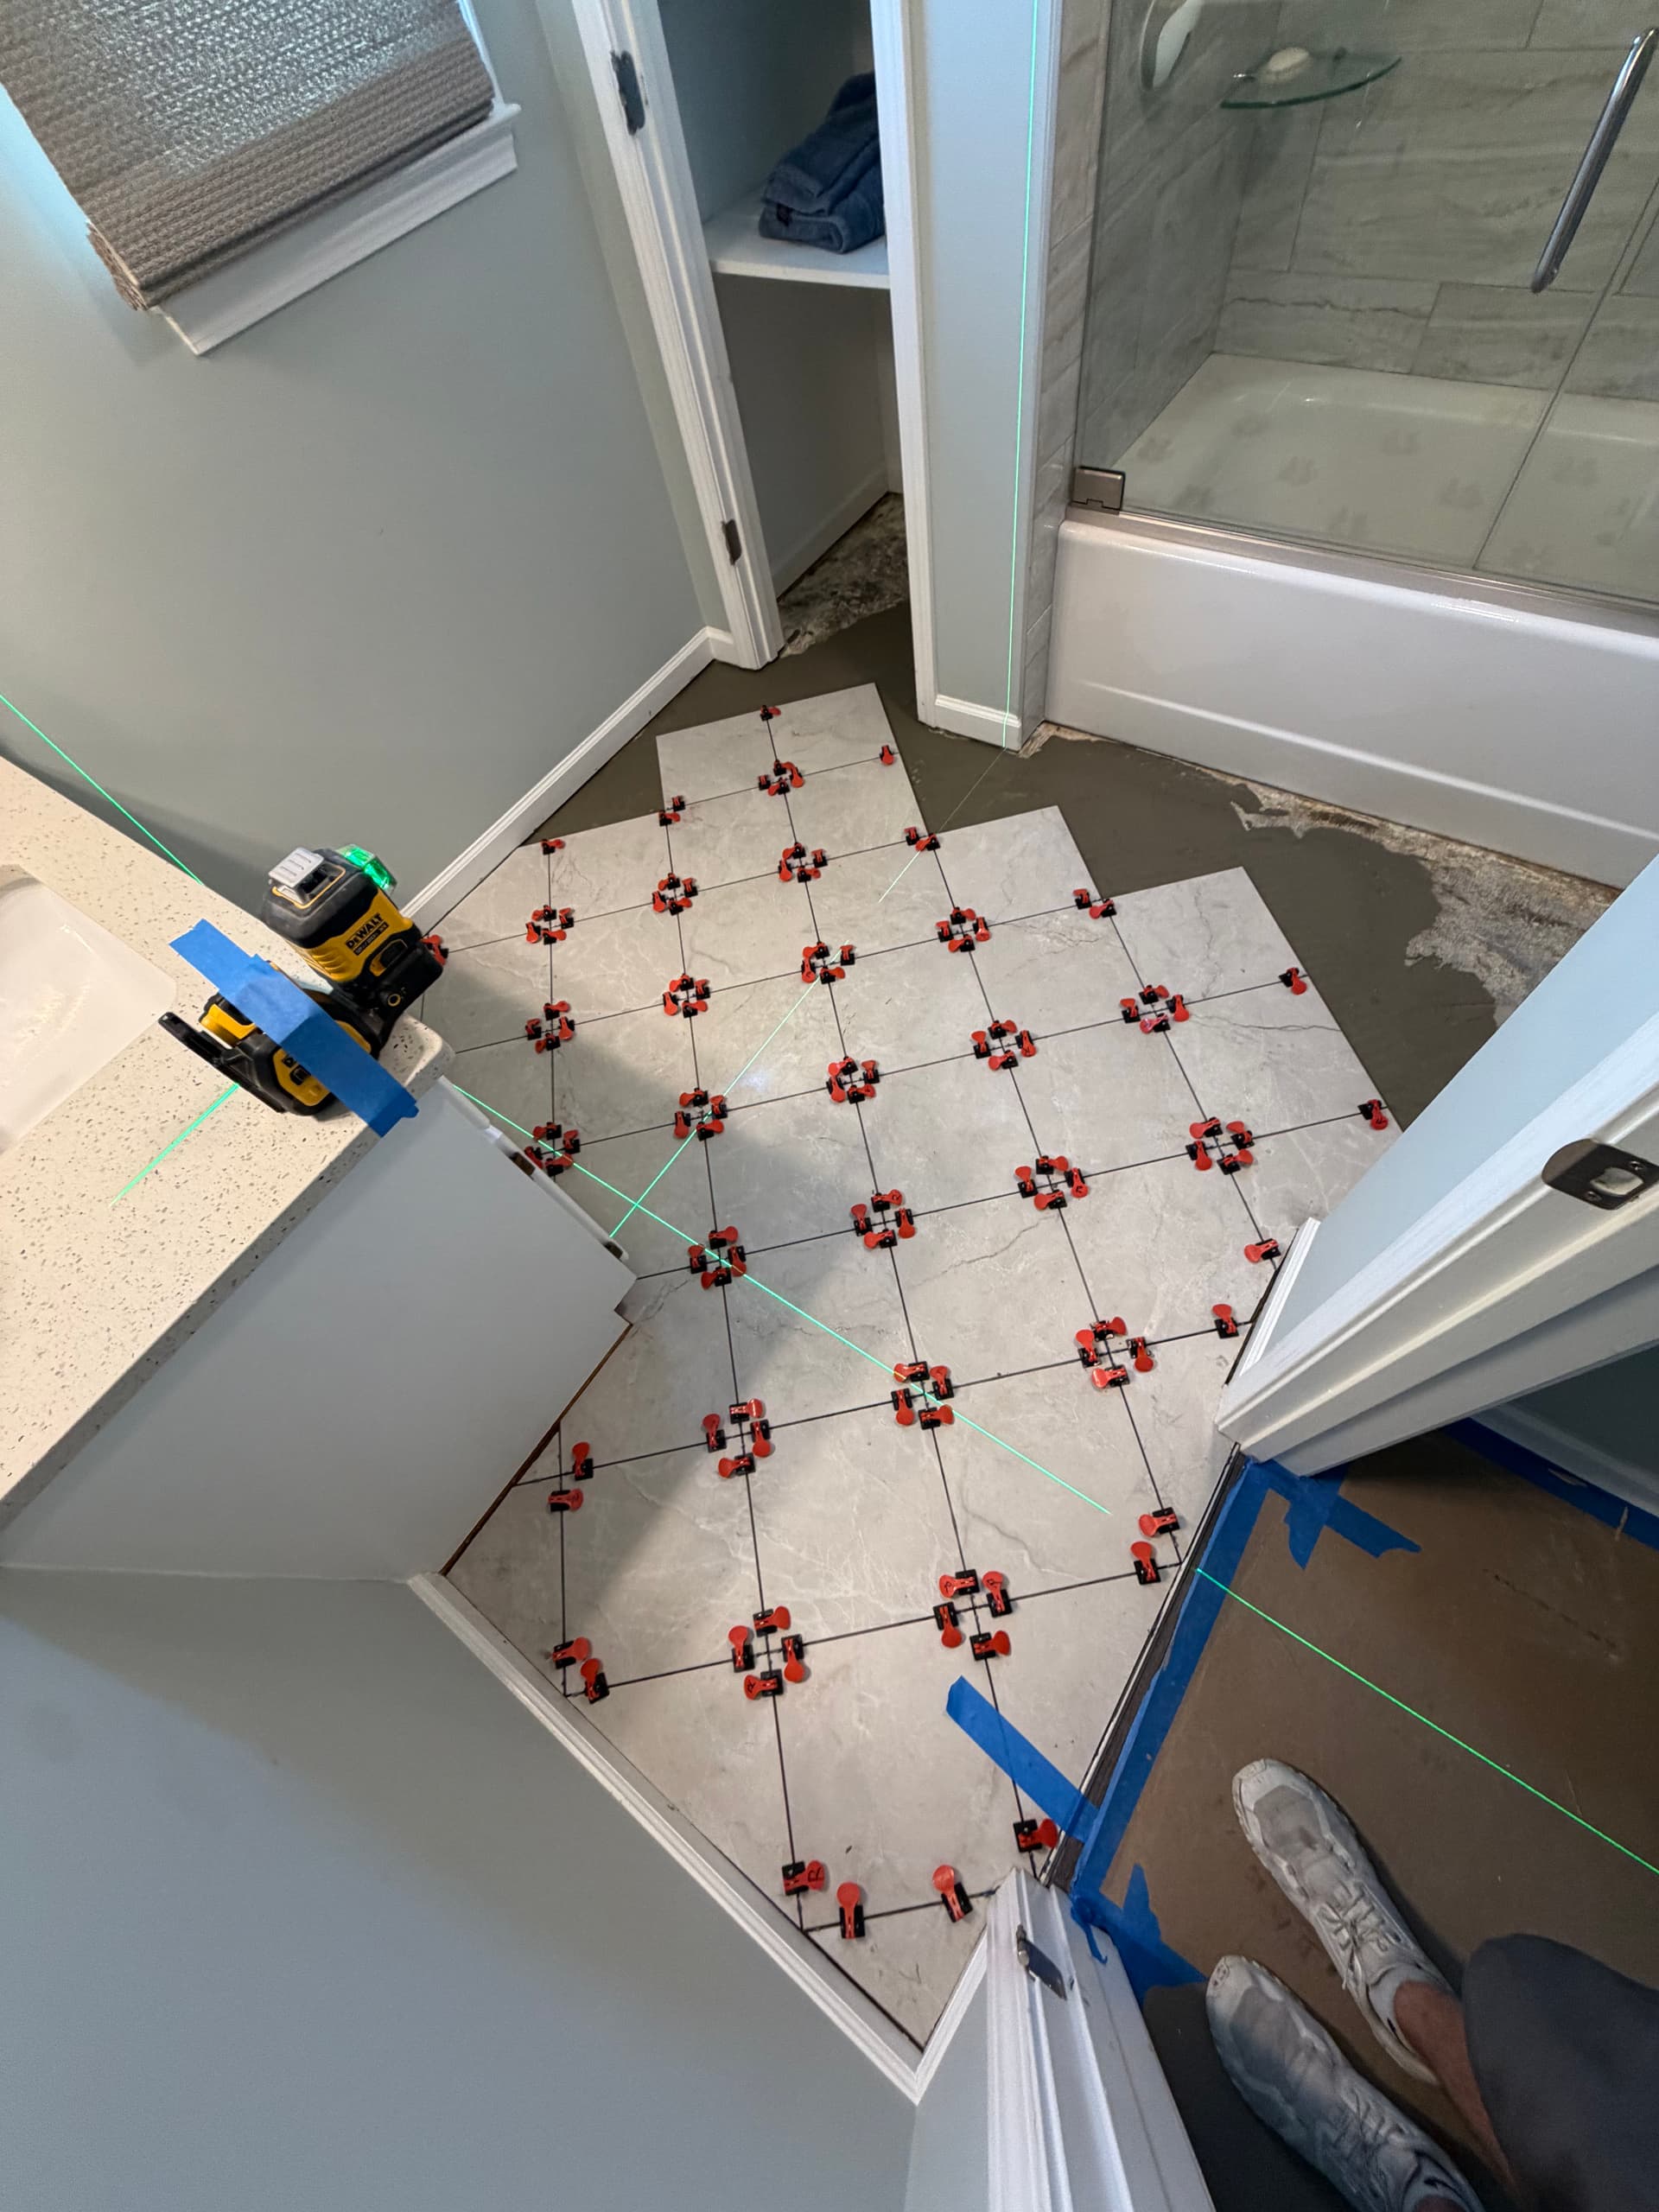
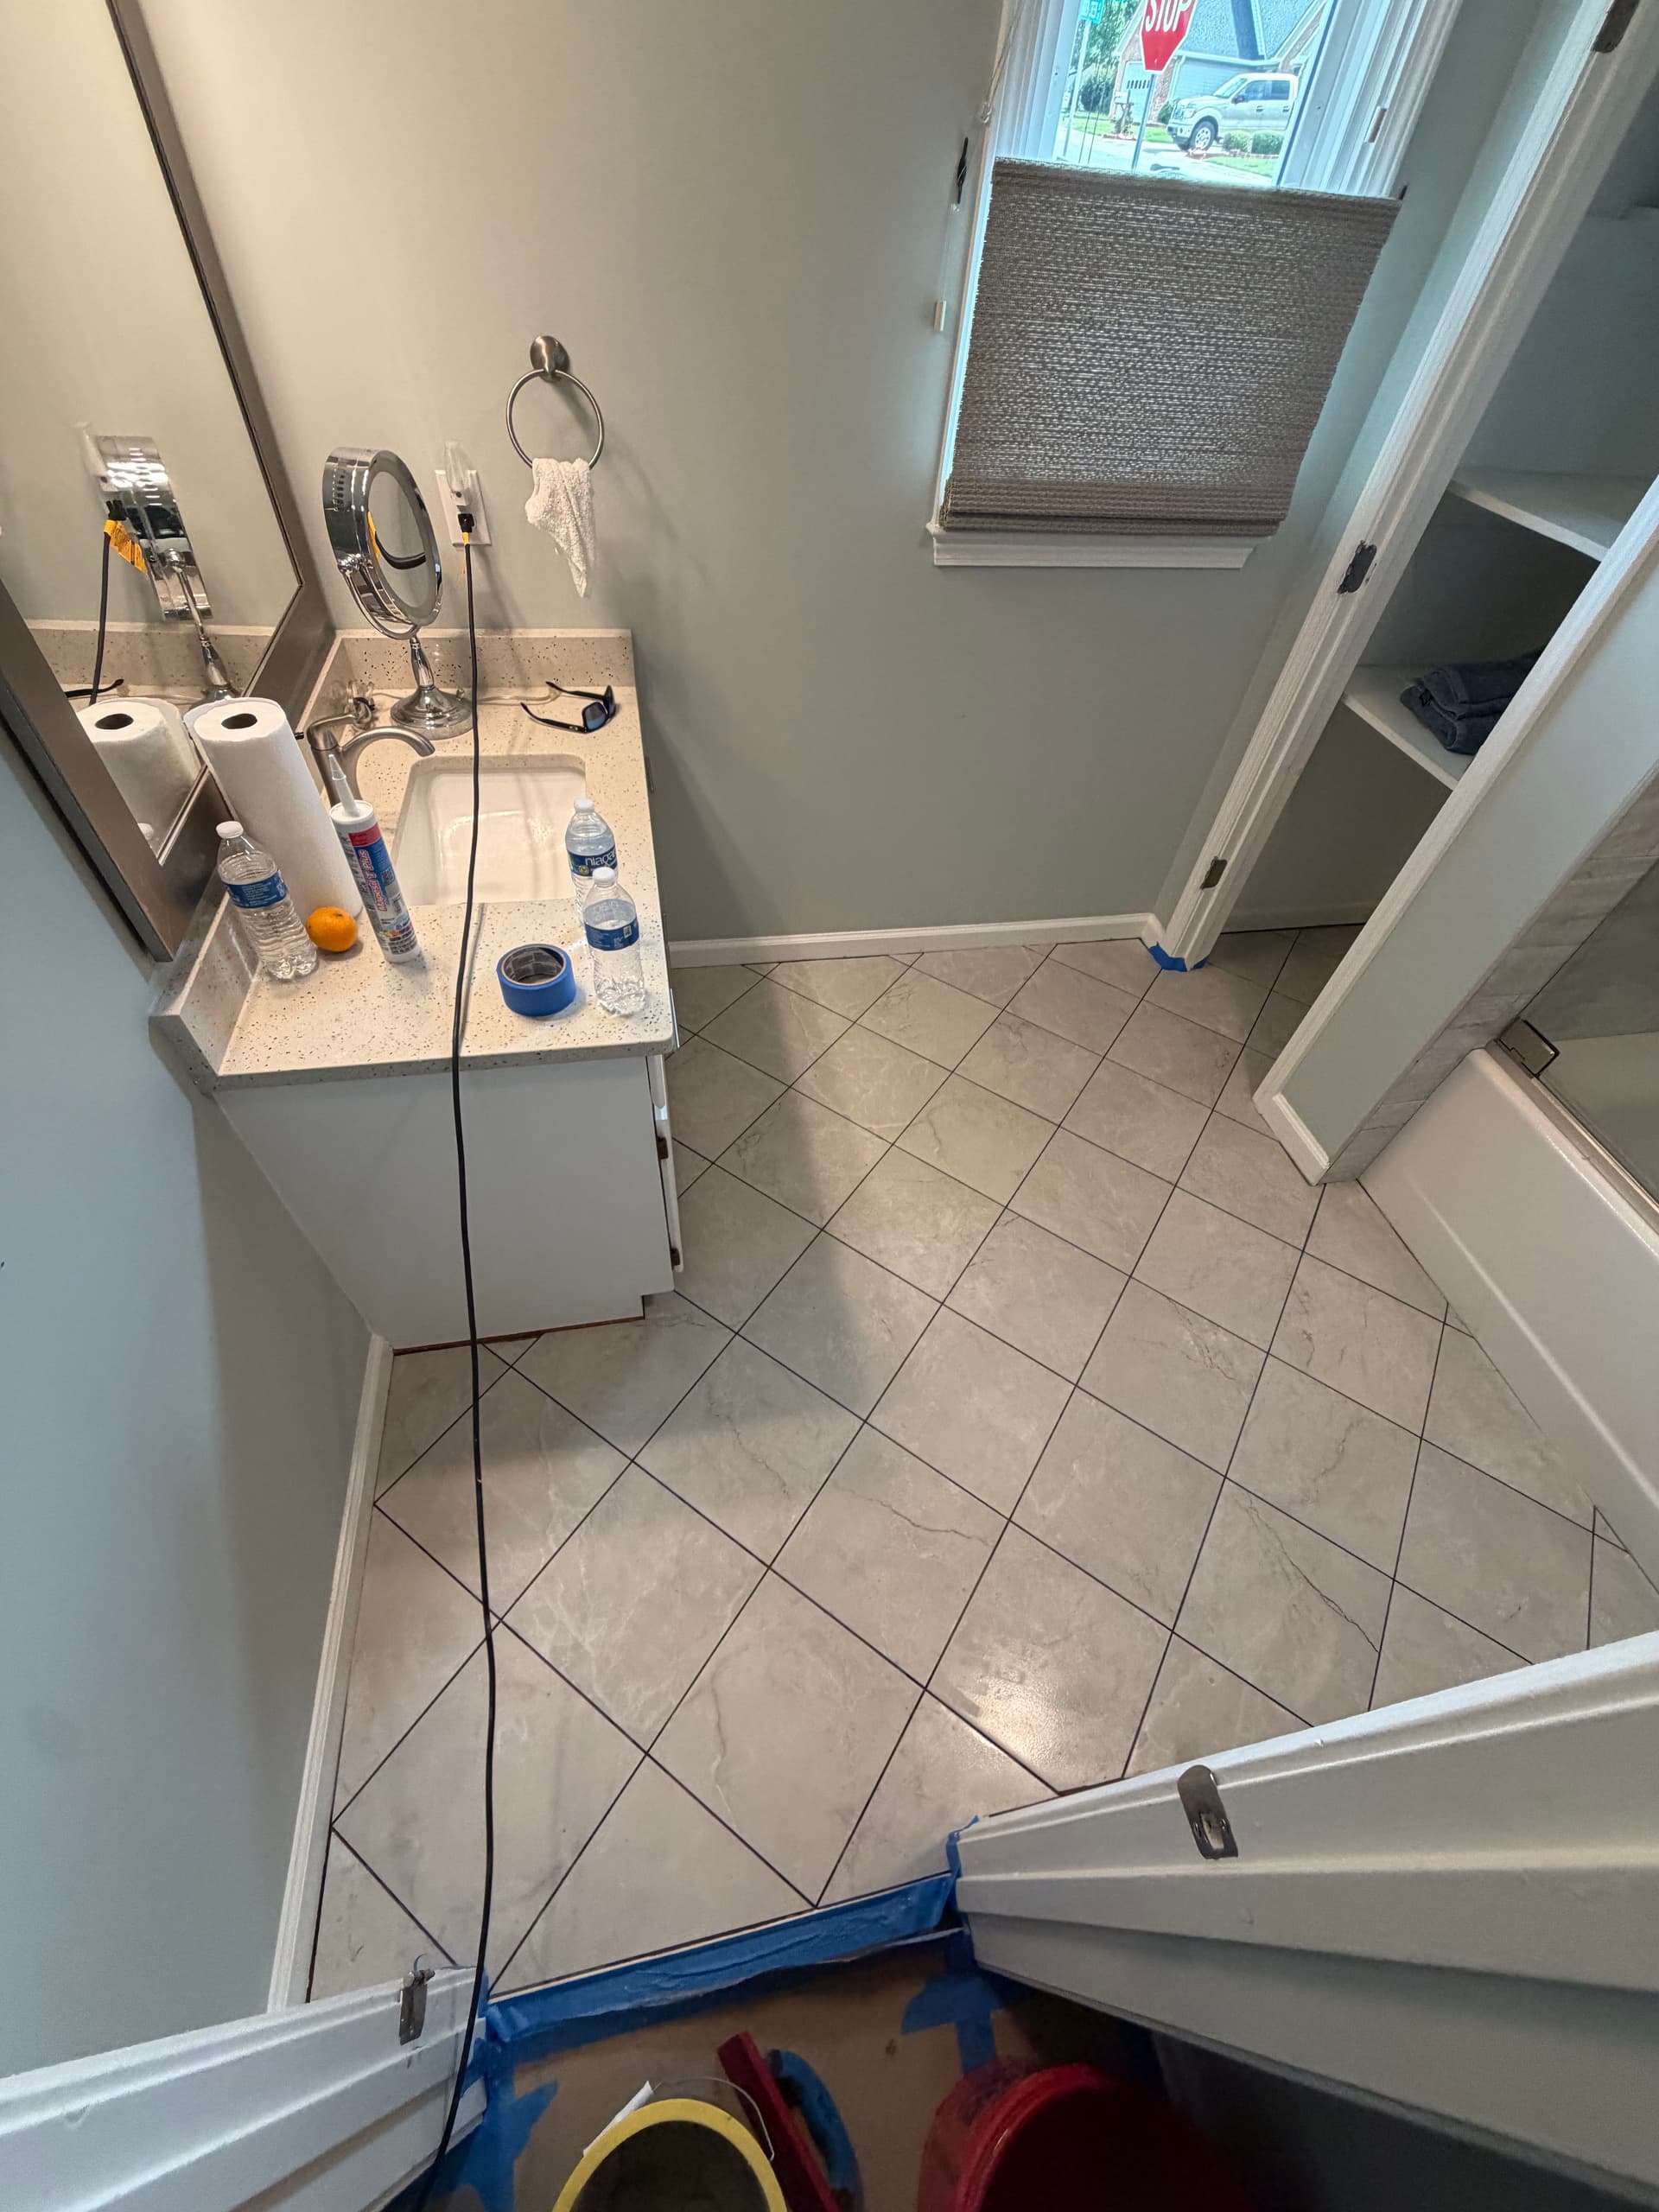
Before setting the tile, we laid out the diagonal pattern dry first to dial in the spacing and centering. We used a laser level and tile leveling clips across every joint to keep things perfectly flat and aligned. That part matters a lot - especially on a diagonal layout, where any drift becomes obvious fast.
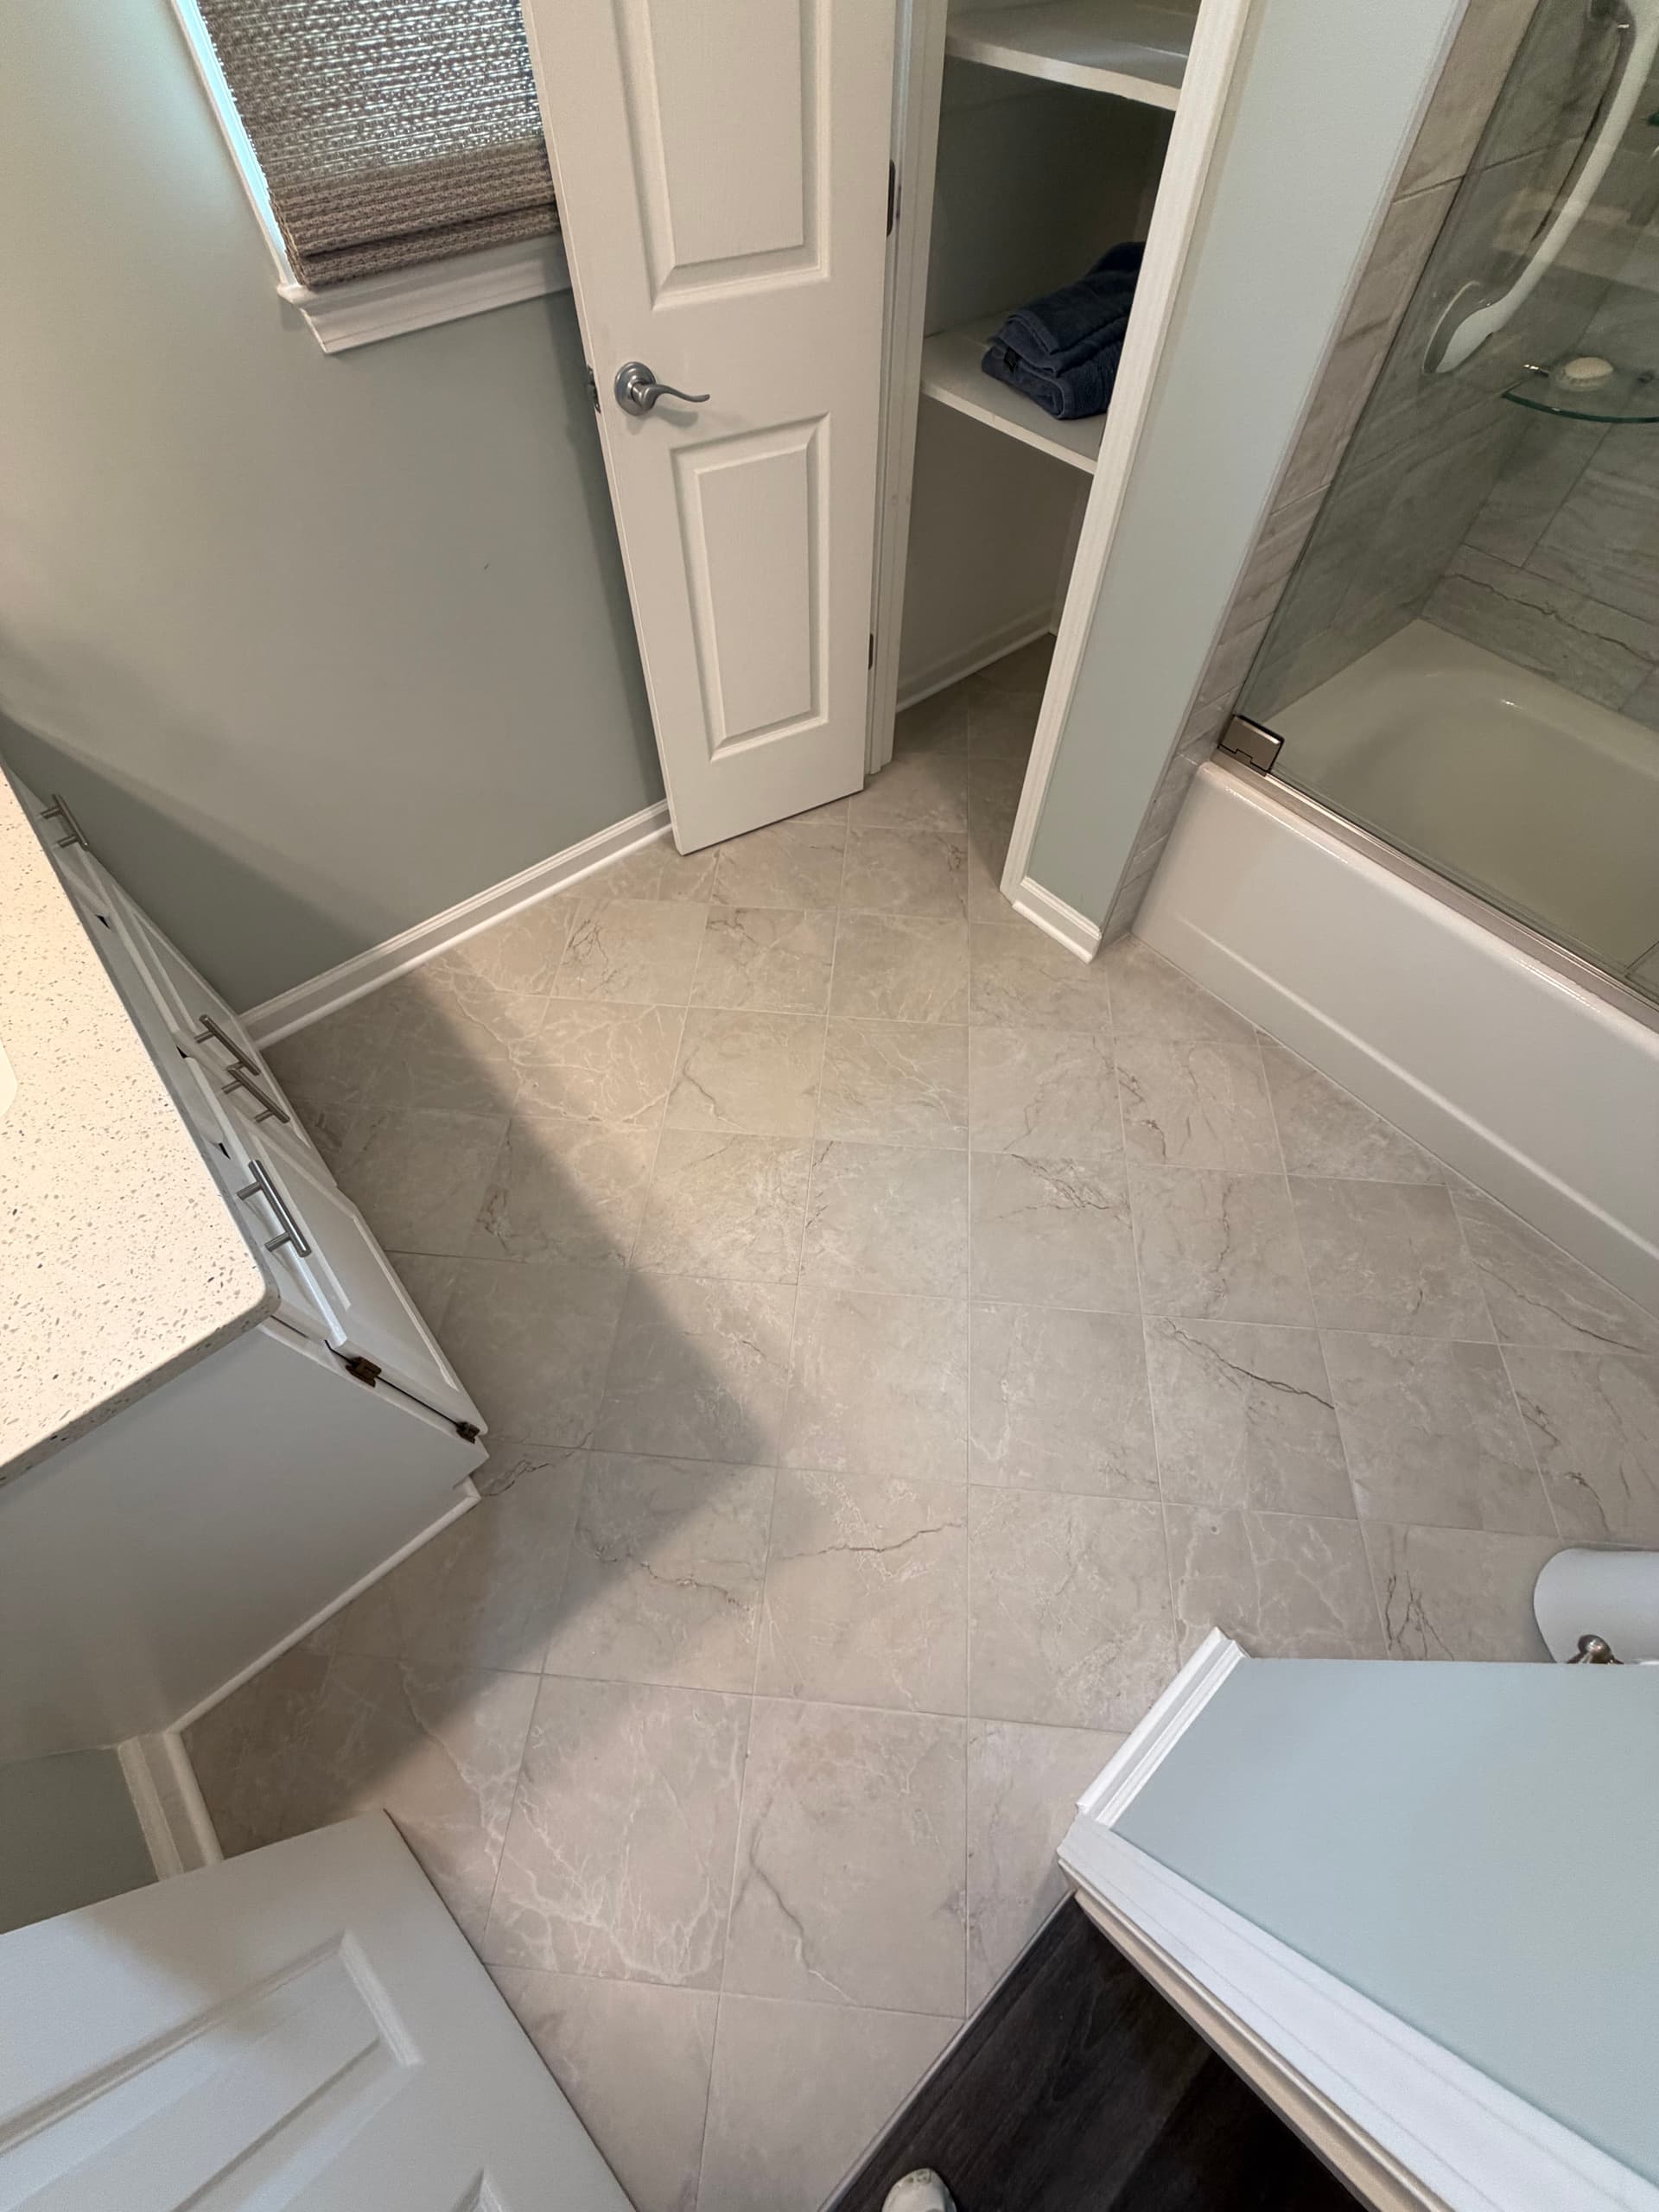
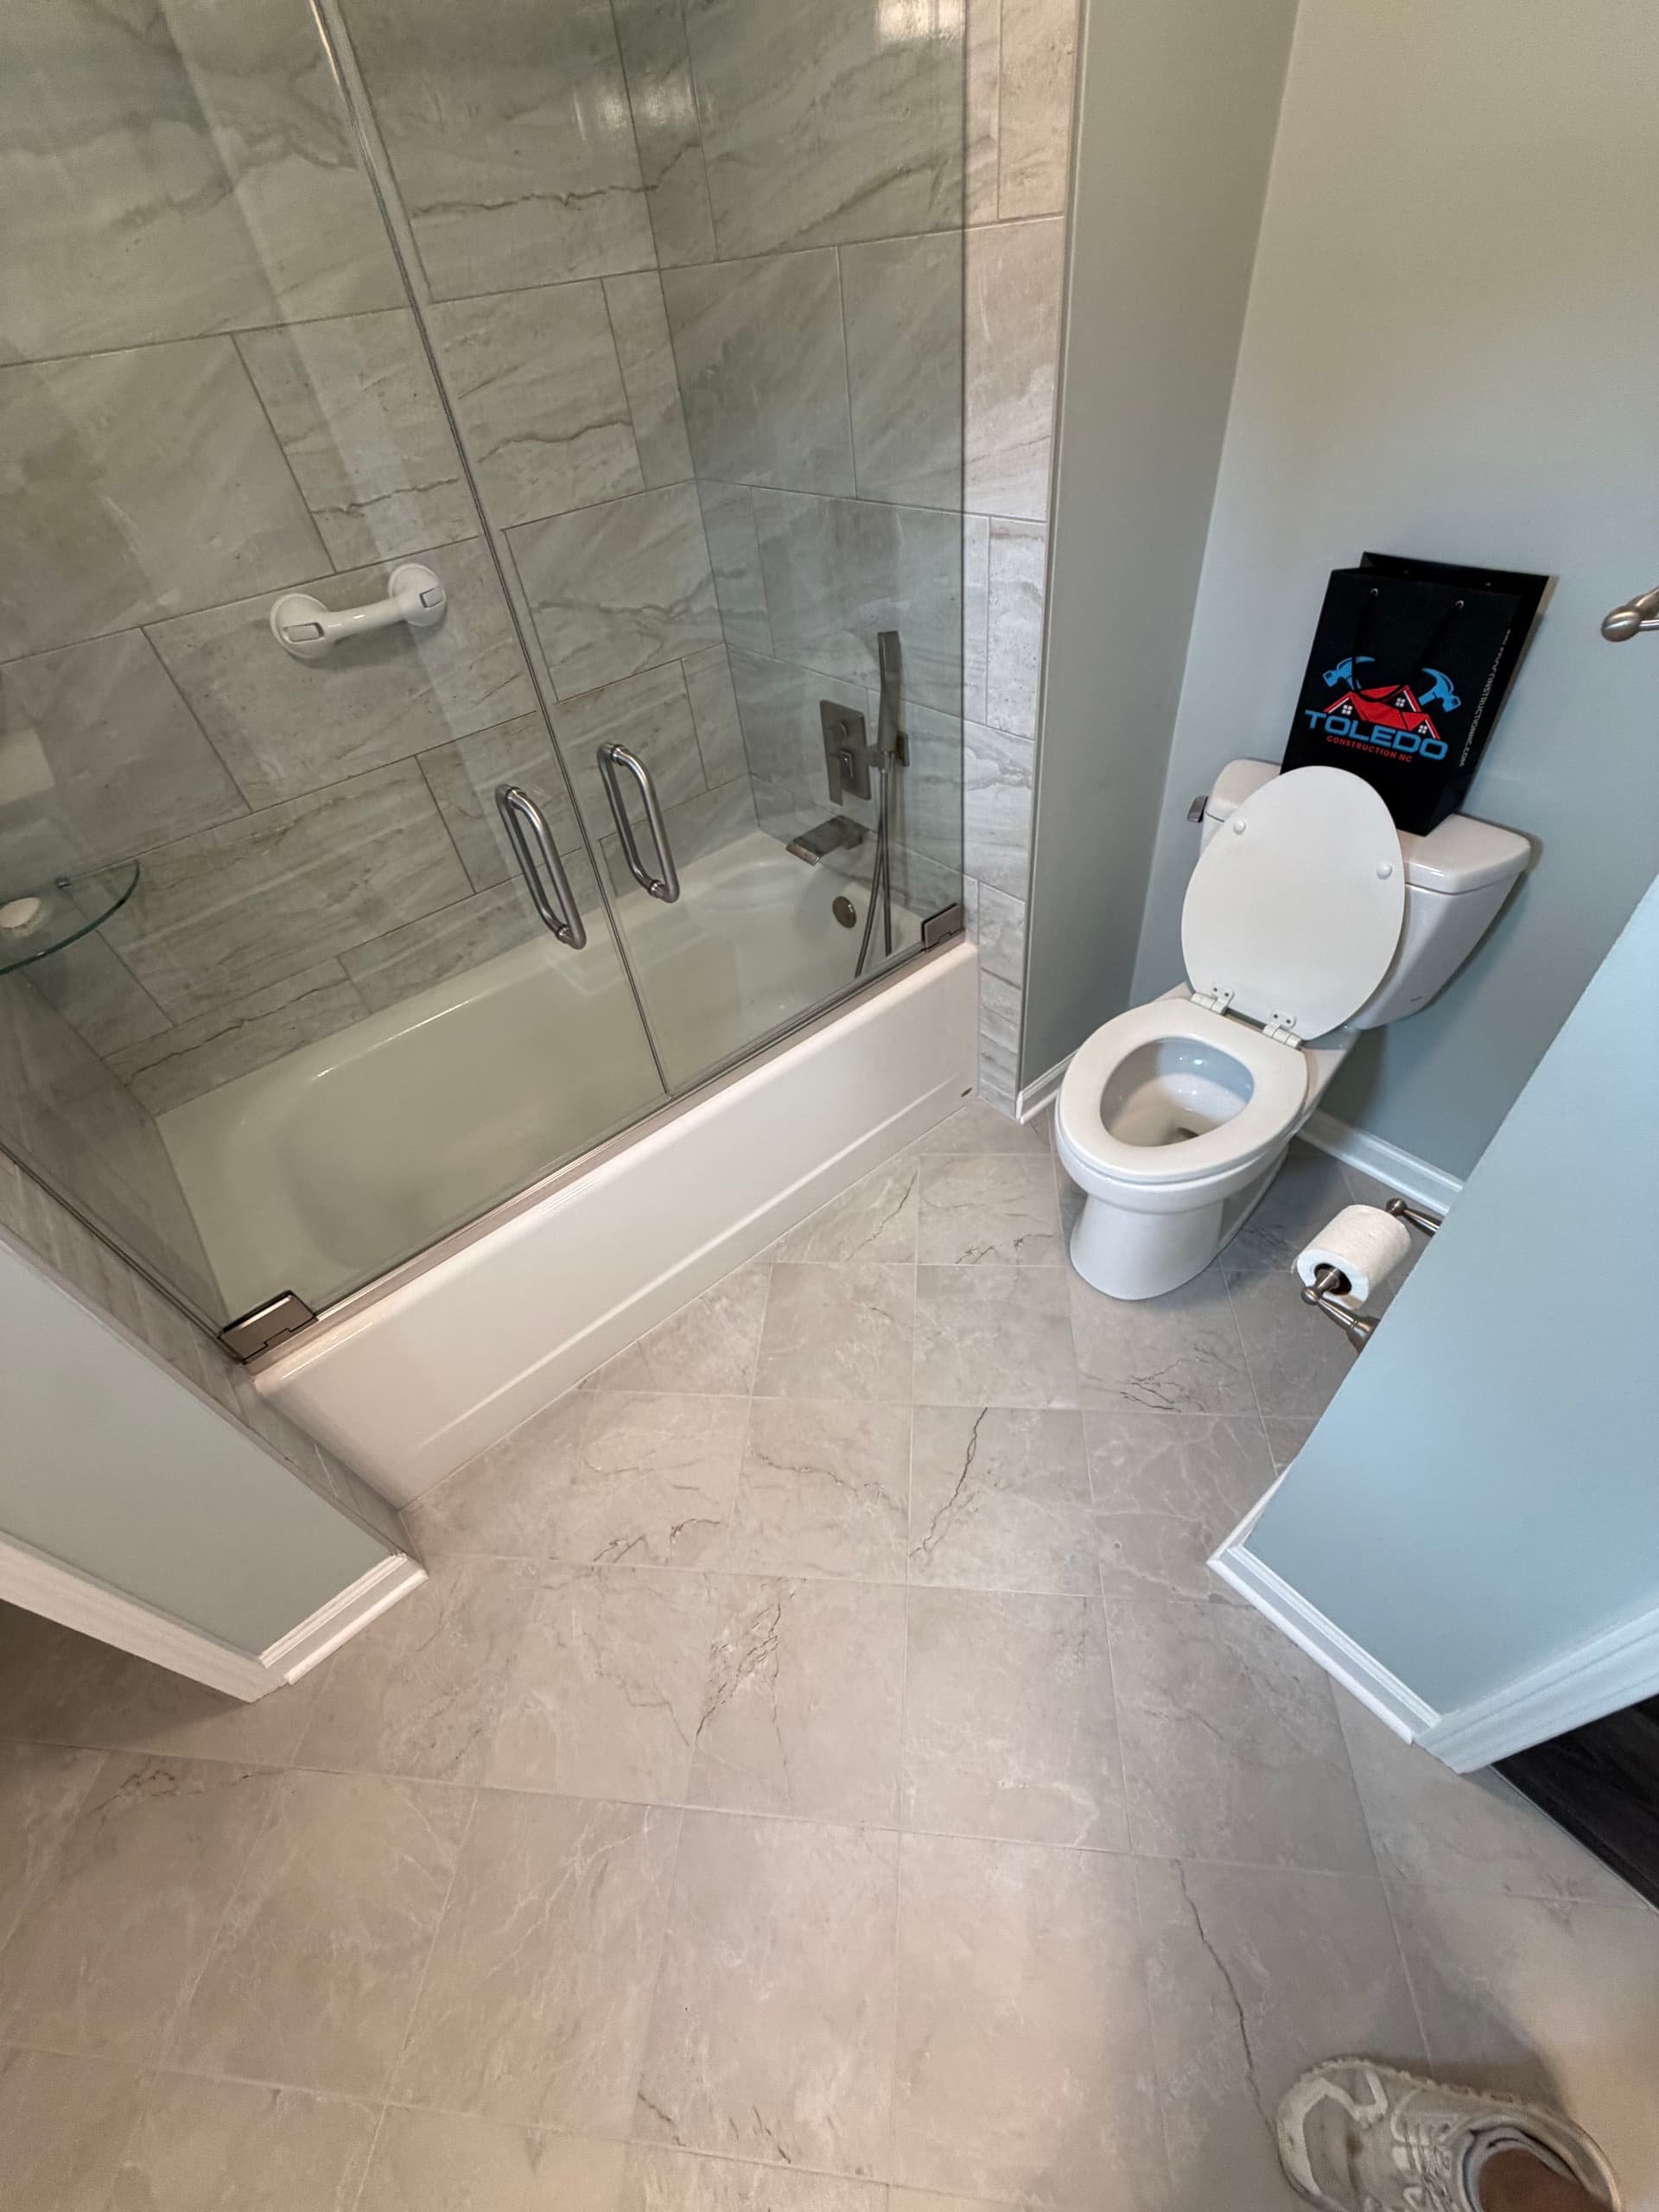
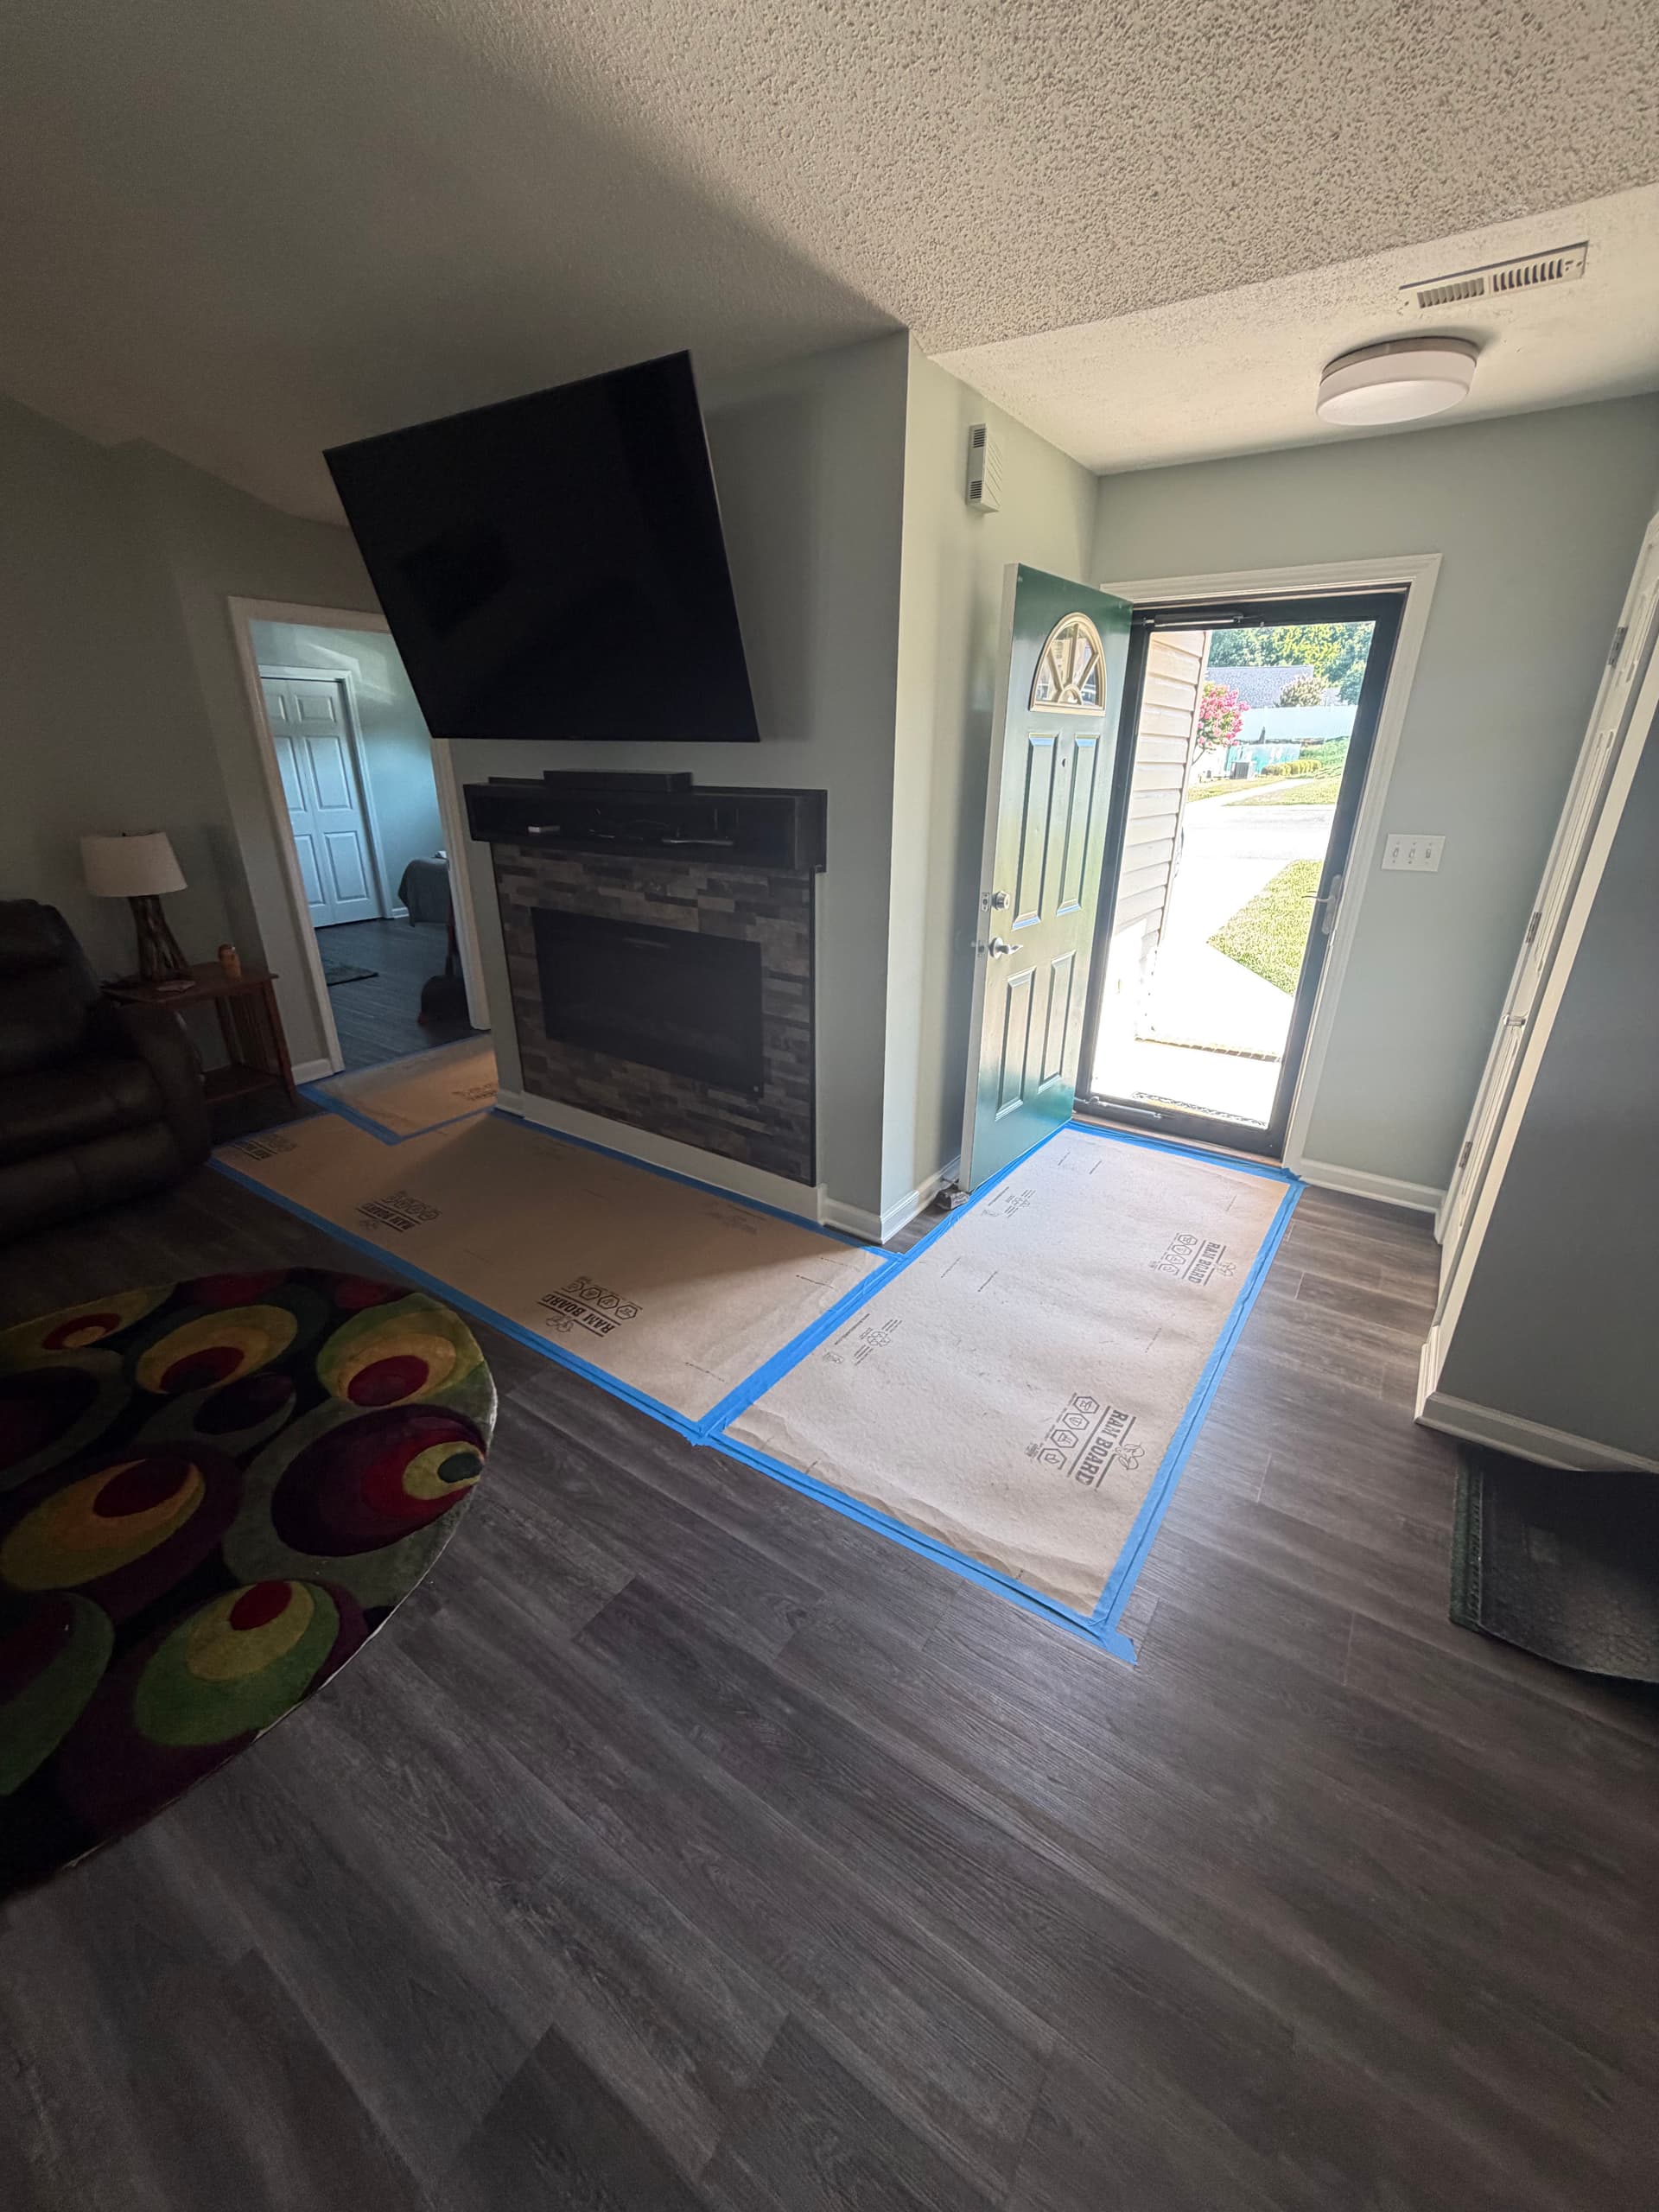
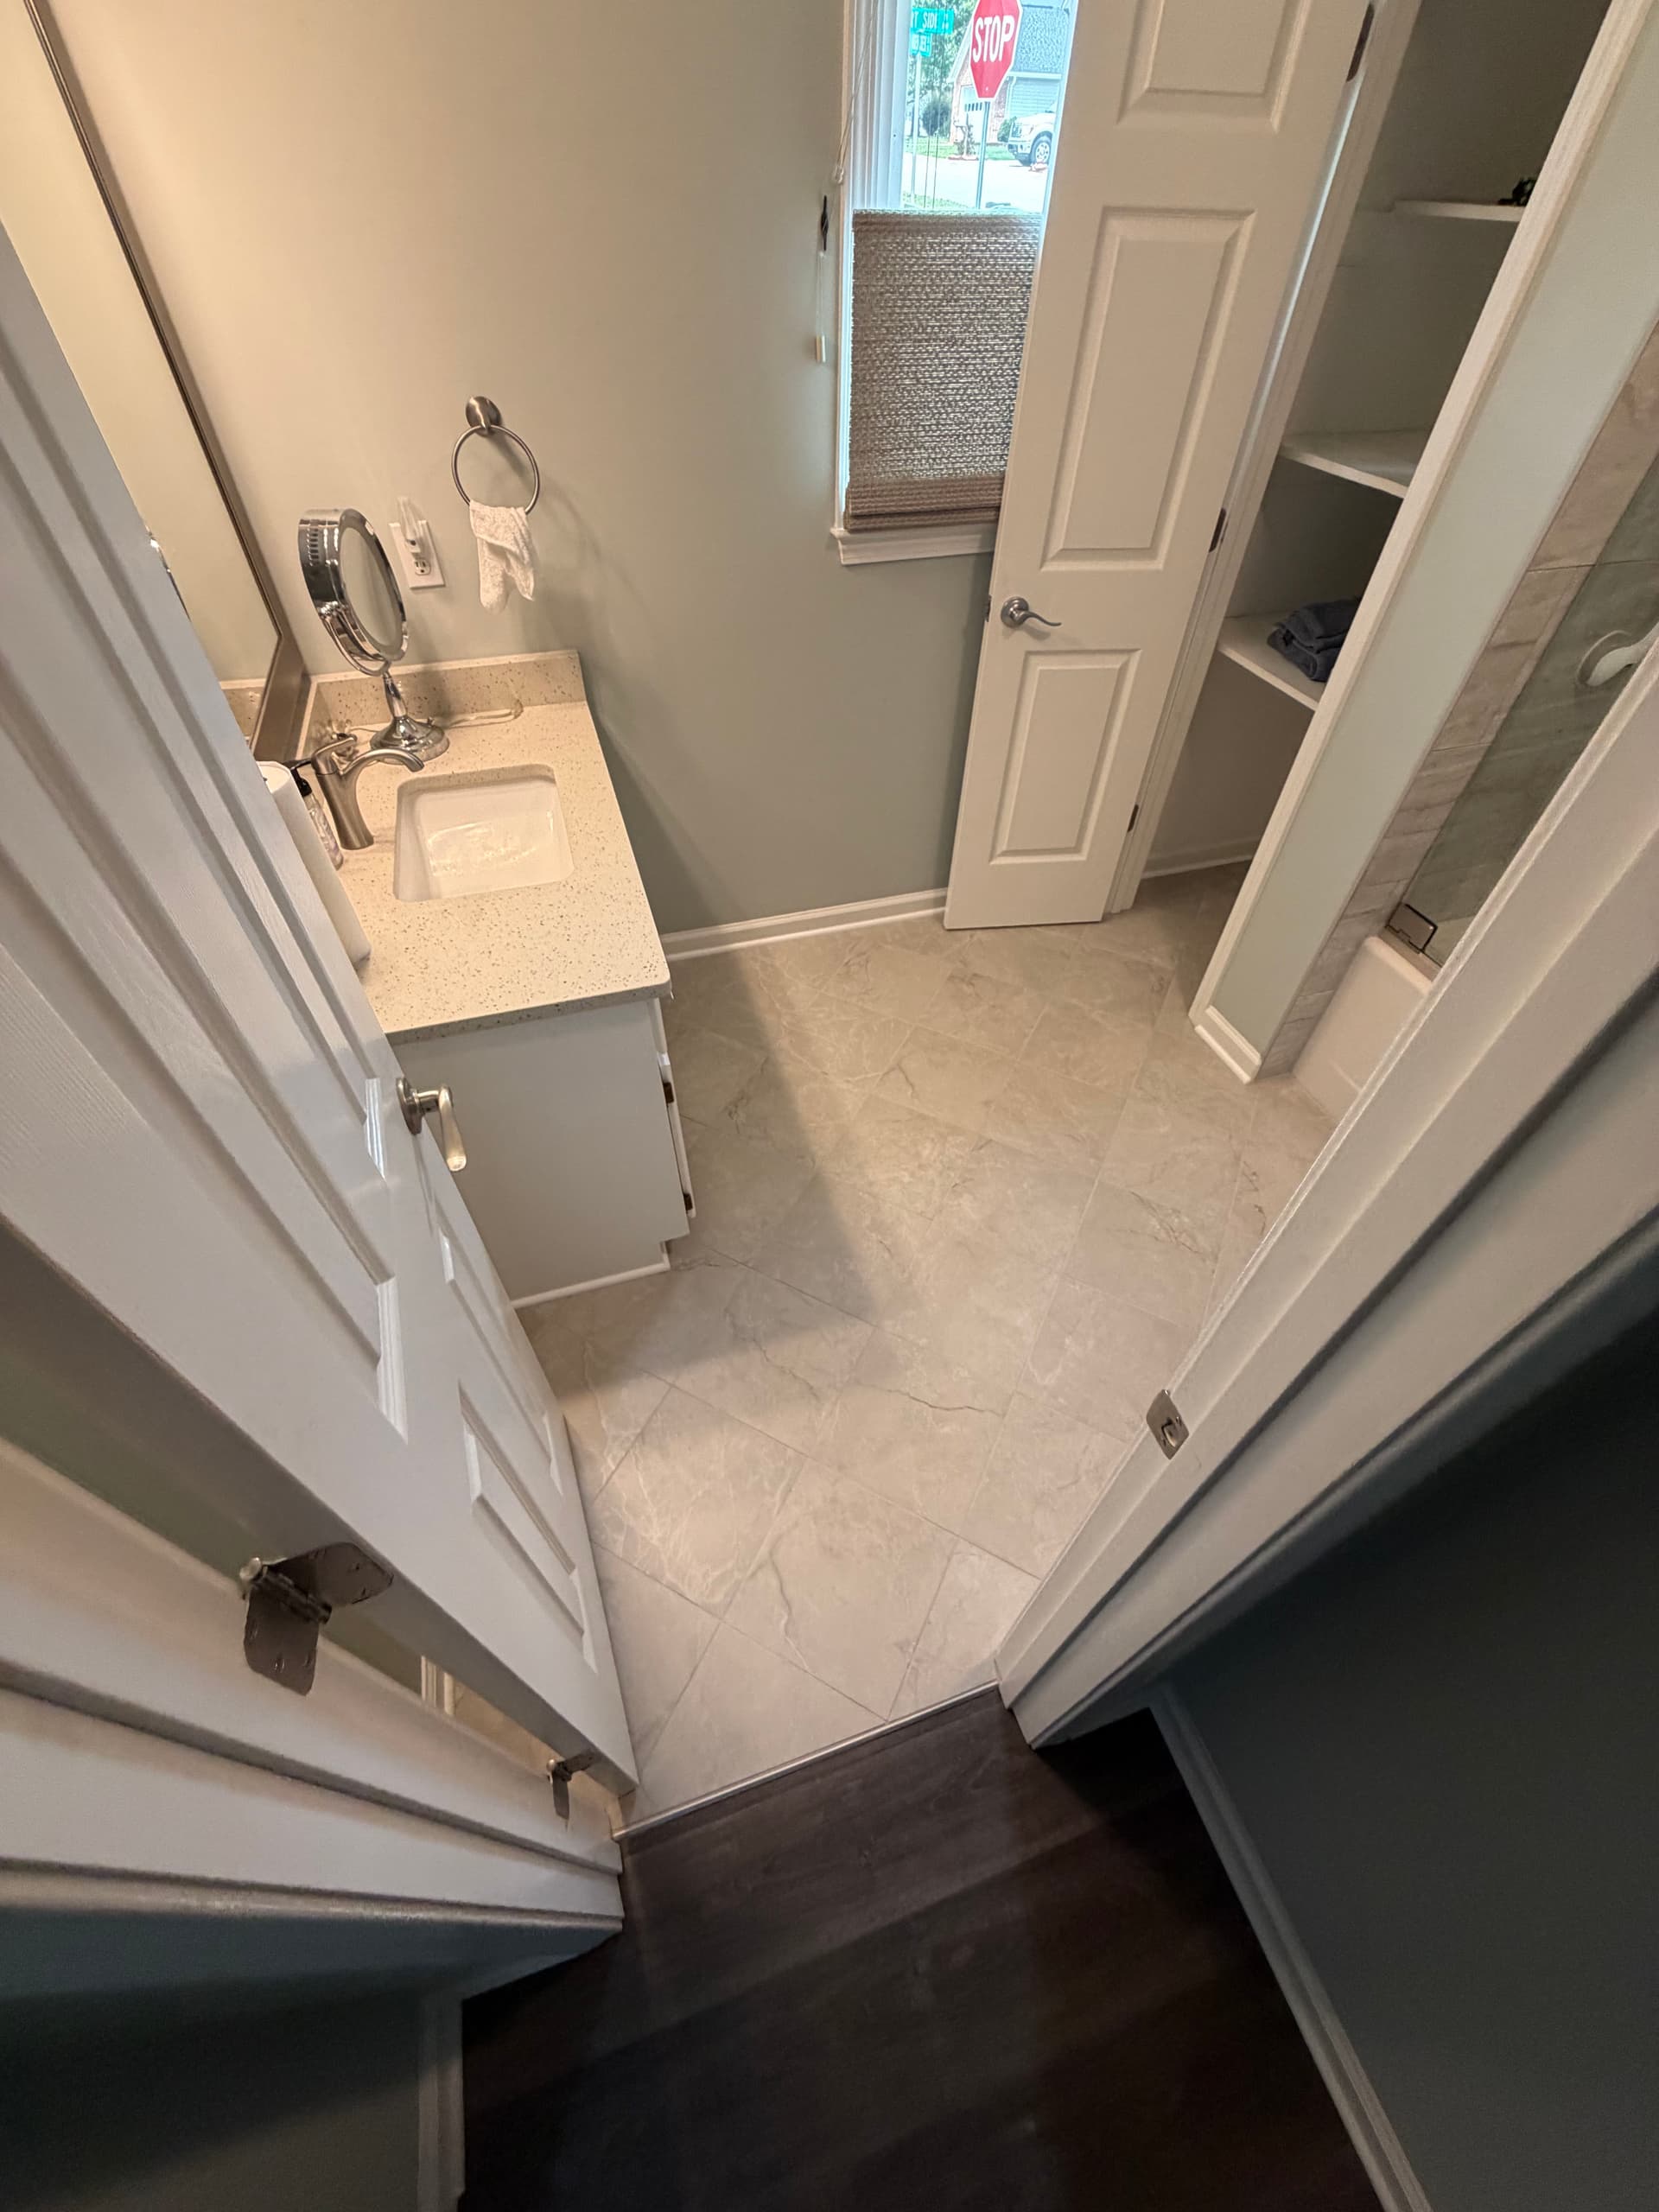
We went with light gray 12x12 tiles with a subtle marble-look veining. Set on a 45-degree angle, they make the room feel bigger and give it a classic finish that won't go out of style. The grout lines are tight and consistent throughout. We also protected the rest of the home during the job - hardwood floors in the adjacent living area were covered with kraft paper and taped down so nothing got damaged during the work.
Even on a smaller bathroom remodel like this, the process is exactly the same as a larger job. The homeowner ended up with a floor that looks sharp, holds up long term, and completely changes the feel of the space. That's what good tile installation should do.